
The first step to unlocking its potential is clicking on "Search by characteristics" on the front page of the Iris Database.
You will see a list of fields (Cultivar name, Hybridizer, etc.), all of which can be searched, either alone or in combination. There are over 50 fields, but the ones of most interest when searching the Iris Database are the first 19 ("Cultivar name" through "Awards") plus "Parentage", which is at the very end. This section, the "Data specific to Irises," was built from a variety of sources including the American Iris Society's Checklist, which serves as the International Cultivar Registration Authority for all non-bulbous varieties of Iris. There's an entry in the Garden.org Iris Database for every iris variety listed on AIS's Checklist.
This information has always been publicly available, but until our webmaster Dave worked his magic with the Iris Database, it often wasn't very easy to access. Let's say, for example, you wanted to know which irises were awarded Honorable Mention by AIS in 1990. That information could be found, IF you had access to the Bulletin of the American Iris Society no. 279 from October 1990, but it took a lot of digging to find it (don't ask me how I know lol). Now, with the Iris Database, it's merely a couple of key strokes away. Just go to this page, check the box next to Honorable Mention in the Awards field, type 1990 in the write box that appears, click Search, and voila! There they are.
Here's another example. What if you want to see all of the irises Keith Keppel has registered? Search by Keith Keppel in the Hybridizer field and there they all are:
Keith is famous for producing irises in the plicata pattern, so let's say you just want to see his plicatas. Search by Keith Keppel in the Hybridizer field again, but also check the box for Plicata in the Flower Patterns field and you'll get a list of his irises, but limited to his plicatas.
What if you just want to see which of Keith's plicatas have won the Award of Merit? Do the same search as above, but also check the box for Award of Merit in the Awards field.
Maybe you want to see which of Keith's plicatas have won the Award of Merit, but limited to those that have won it since the turn of the century. Do the same search as above, but when you check the Award of Merit box, type 20 in the write box that appears and there they are.
The possibilities with these types of searches are almost endless!
However, there are a couple of caveats about searching the database.
The Irises Database includes fields for information that is not, or at least not consistently, listed in the Checklist, including Rebloom by Zone, Flower Form, Bloom Color Classification, Flower Patterns, and the Foliage fields. We added theses fields because they make nice search aids, but there is a lot of room for interpretation around some of the included terms. This is particularly true for the Flower Form Bloom Color Classification fields. I can't tell you, for example, where the line is between a "ruffled" iris and a "bubble ruffled" iris. But, if you like irises with really ruffled flowers (or the luminata flower pattern, or purple-based foliage, etc.), being able to search for that trait is a nice feature, so long as you understand it can be somewhat subjective.
One last note: You might wonder why there are two fields for the description of flower color, the Bloom Color Description field and the Bloom Color Classification field? The Bloom Color Description field represents the color of an iris flower as the hybridizer described it, with some modifications for clarity and to fit a more standardized format. Searching this field can be problematic, though. For example, if you search for a yellow iris, but the hybridizer described her flower as "lemon" or one of the many other synonyms for yellow, it won't show up in your search.
That's one of the reasons we added the Bloom Color Classification field. It takes all of the potential colors in the rainbow and condenses them down to 22 classes, which is infinitely easier to search by (although with an obvious loss of precision). To put it simply, you can search for yellow irises by checking the box for Yellow in the Bloom Color Classification field and find all of the yellow irises, including the ones described as lemon, goldenrod, etc.
The other reason for the Bloom Color Classification field is that, prior to 1950, hybridizers rarely described the color of their irises. At the time, AIS had a color classification system and hybridizers simply noted the appropriate code (e.g. Y4D was the code for a dark yellow self). So, if we wanted to be able to search for pre-1950 irises by color, we were faced with either making up our own descriptions of the flowers (an idea I loathe) or adding the Bloom Color Classification field, which is what we did.
If you love irises, give the Iris Database a look. I think you will be amazed at the information it contains and how easy it is to use.
To quote Claire Austin from 'Irises': "Around the world approximately 270 iris species are known plus hundreds of subspecies, collected forms, and natural hybrids. All come from the Northern Hemisphere and can be found growing as far north as Scandinavia and as far south as Florida, from Europe to Japan, as well as many parts of North America. Their habitats range from mountainsides to deserts, open grassland, dense woodland, and sandy coastal area. Irises grow from 2" to 6' tall and bloom from late winter to fall. With just a small selection, a garden can have irises in bloom from the dark days of winter until summer turns to autumn."
So, come with us and peruse the iris database. We dare you not to find an iris to love.
What do I receive when I buy an iris?
You purchase the rhizomes. The rhizomes will vary in size greatly based on genetics and culture. Some TB rhizomes can be large while others will be somewhat smaller. Dwarf iris will be very small
When and where to Plant
For best results, iris should be planted in July, August or September, in a spot where they will receive at least half a day of sun; with EXCELLENT drainage. It's imperative that the roots of newly planted Iris be well-established before the growing season ends. In areas with hot summers and mild winters, September or October planting may be preferred.
Soil Preparation
Iris will thrive in most well-drained garden soils. Planting on a slope or in raised beds helps ensure good drainage. If your soil is heavy, coarse sand or humus may be added to improve drainage.
Depth to Plant
Iris should be planted so the tops of the rhizomes are exposed and the roots are spread out facing downward in the soil. In very light soils or in extremely hot climates, covering the rhizome with 1 inch of soil may be desirable.
Distance Apart
Iris are generally planted 12 to 24 inches apart. Close planting gives an immediate effect, but closely planted Iris will need to be thinned often. Plants spaced further apart will need less frequent thinning.
Watering
Newly set plants need moisture to help their root systems become established. Specific watering information depends on your climate and your soil, but keep in mind that deep watering at long intervals is better than more frequent shallow waterings. Once established, Iris normally doesn’t need to be watered except in arid areas.
General Garden Care
Keep your iris beds clean and free of weeds and debris. Bloom stems should be cut off/or snapped off close to the ground after blooming. Remove any diseased or brown leaves.
What kind of Fertilizer is used?
Use either a balanced fertilizer such as a 5-10-10 or 6-12-12. Do not use any fertilizer with a high Nitrogen number as this will force rapid growth and lead to soft rot. I try to find a fertilizer low in Nitrogen which is the first of the numbers.
When to fertilize?
I fertilize two times a year. The first time, earliest spring just as the iris is starting to grow. The second time is at the very end of the season, or after I have finished planting the beds for the year.
What Diseases do Iris Get?
Relatively few, but there are some.
SOFT ROT: Bacterial soft rot is easy to identify by the soft, mushy, foul-smelling rhizome. Caused by over watering or over fertilizing or a combination of both. Yellowing of the leaves is usually the first indication of the problem, showing up at the bases of the fan. Scrape soil away from the rhizome. Use a spoon to scoop out the soft mushy tissue. Dust with a bleach based cleanser such as Comet or drench with a bleach solution of 1 part bleach to 9 parts water. Allow the treated part to be exposed to the sun for several days to dry out before covering with soil.
IRIS BORER: We do not have borers here in the West, so contact your local nursery.
FUNGAL LEAF SPOT: Can make the garden look unsightly and is caused by wet conditions. Spores that cause leaf spot can live in garden debris, so it is necessary to keep a CLEAN garden. Remove all the dead iris leaves. Wet winters keep an eye out for the beginnings of leaf spot. Cut off and destroy any leaf or part of leaf that is affected. Spray with Diainol, Captan, Benlate, Dithane, Maneb or Zineb in early SPRING and after each rain.

All are easy to grow. The most important factor is they must be kept moist the first year planted. After that they will do well with less water, but will thrive with more.
The irises will do well in most garden soils, but for strongest growth additional water is recommended. Especially up until bloom time, and in the late summer, which is when root increase is great. Extra water will increase height of plants and size of bloom. Most of the water irises can be grown in or near a pond, but in areas that freeze they cannot have their rhizomes under water as it will suffocate the plant. If you wish to grow them in a pond, in a cold climate, put them in a pot which you can take up and sink in the ground over winter.
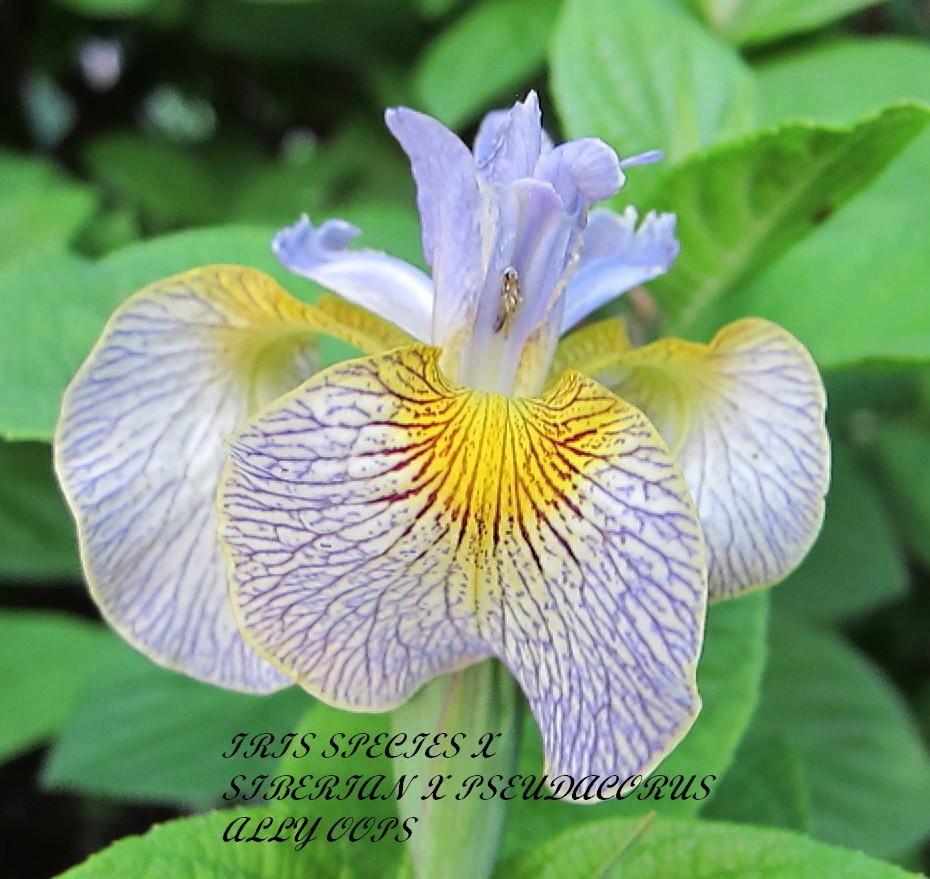
These irises prefer a heavy rich soil, on the acidic side. Manure or peat is a great addition to the soil before planting. Be sure the manure is aged, otherwise it may burn roots. If the PH is too high, you will notice a yellowing of the leaves. This can be corrected by watering with Miracid until the irises are divided, then add agricultural sulfer to the soil. (Be aware, some of the Japanese X Pseudacorus AKA Pseudatas have intrinsic yellow leaves, especially in spring—nothing is wrong with them).
Plant divisions of three to four fans. Never allow the irises to dry out while planting or transplanting. Soak the roots in water before planting for up to 2 days. Plant the rhizome 1-3 inches deep, and in a depression of 3-4 inches, which will help hold water. Mulch heavily. Oat straw is an excellent mulch, as is pine needles. Pine bark is good as well. These irises grow their new rhizomes on top of the old rhizomes so putting them in deeper allows them to stay in the depression longer before needing to be divided.
Divide plants in the early spring, or late summer to early fall, being sure it will be cool, and you can give them enough water for a month after dividing. Plant divisions 18-24 inches apart. New information suggest not planting irises back into the same place, as the new info indicates the Japanese iris might poison the soil, however we have had no trouble with this. My personal belief is that the Japanese irises deplete the soil, not poison it. It makes sense to me, as they are such heavy feeders, that they will quickly deplete a soil. Amend the soil well at time of division. Plants grown well will need to be divided every 3-4 years. If the center of the plant is dying out, that tells you division is needed..
Japanese and other water irises are heavy feeders. A balanced fertilizer such as 10-10-10 in the spring and right before blooming works well. A watering every two weeks of Miracle Gro, (alternating with Miracid if you see any leaf yellowing) is great. It is hard to overfeed or overwater the water irises.
Japanese irises have a tremendous root growth period in the late summer/ early fall. For that reason, I like to be sure to Miracle Gro them right up until ground freeze. They may get new top growth. That won’t hurt them a bit. It does NOT make them weaker going into the winter.
Most water irises have little or no pest problems. Thrips or iris borers can be controlled with a systemic insecticide.
WHEN YOU RECEIVE JAPANESE, OR MANY OF THE SPECIES IRISES IN THE FALL, THEY MAY HAVE SOME BROWNING ON THE LEAVES. THIS IS NORMAL. SOME CULTIVARS START TO GO DORMANT EARLIER THAN OTHERS. NOTHING TO BE CONCERNED ABOUT.
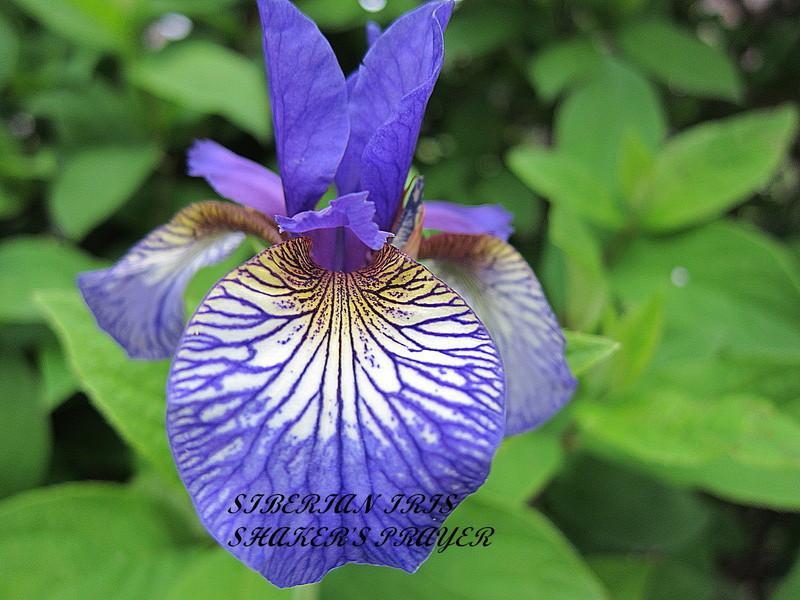
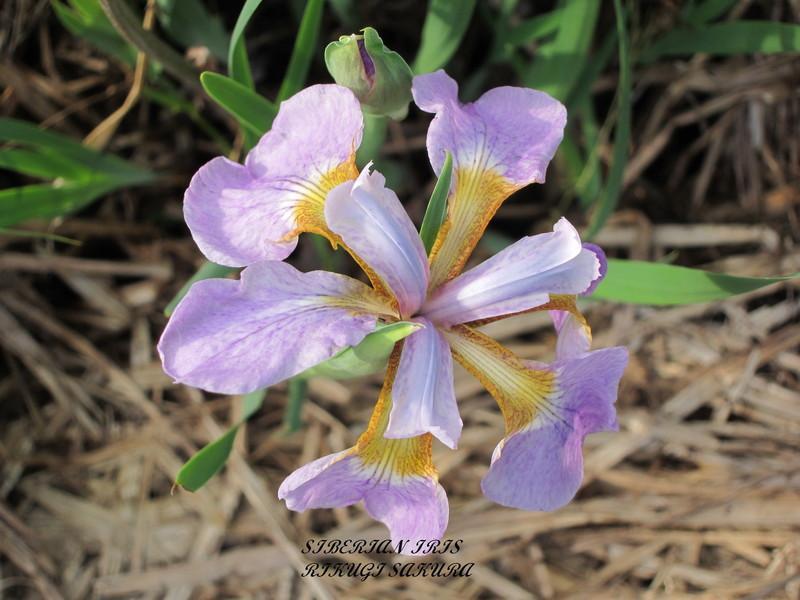
By Polly Kinsman
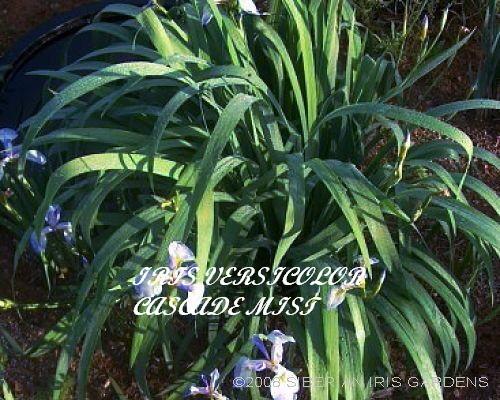
Siberians perform well in most garden soils, but do best if you provide a rich soil containing liberal amounts of organic material, with a mildly acidic pH of 6.0 - 7.0. If your soil tends to be over 7.5 pH, working in sulfur, or acidic organic material such as pine needles or Canadian peat will help increase acidity. In areas where the groundwater is alkaline, repeated acidification will be necessary.
Fertilizer requirements vary depending on your garden soil, but most successful growers use a balanced fertilizer, such as 10-10-10, or a 14-14-14. Fertilize in early spring, and again after bloom season, to encourage growth for next year. Many use foliar feedings monthly with a soluble fertilizer such as Miracid. Siberians can exist on small amounts of fertilizer, but love more.
In northern states, Siberians do best in full sun, or at minimum six hours of sunshine. In hot southern areas, protection from the mid-day sun is often a requirement. They enjoy lots of moisture in spring, and will do best if given a minimum of one inch per week during the balance of the growing season, so plant them with other perennials, such as daylilies which also need constant moisture to keep doing their best. They tolerate, but do not appreciate, summer drought. Siberian irises will not grow in standing water, and any area that has standing water over winter is sure death to these irises.
A mulch of organic material will benefit the plants in summer by conserving soil moisture and keeping the soil cooler, and it helps to prevent frost heaving, especially on new transplants. The mulch is also beneficial in reducing weed germination, thereby giving you more time to watch the plants grow and bloom! It can however provide a home for voles and mice that eat the rhizome.
Throughout bloom season, most Siberians will remain attractive without regular deadheading. Afterwards, however, it is a good idea to remove spent bloomstalks, both for garden appearance and to prevent reseeding. Cut back Siberian foliage only after it turns brown and withers in late fall. Then, cutting off all leaves an inch or two above ground level is recommended.
Siberians are more resistant to disease than other garden irises, but do suffer from scorch in those areas where this attacks other iris varieties. They are not immune to the iris borer in those areas where this pest gains the disgust of iris growers. One application of Cygon 2E, or Orthene, applied when the weather hits 70 degrees in the spring will control this pest in most situations, along with good garden hygiene in your spring cleanup. If you have trees or bushes near your garden, remember that borer moths sometimes lay their eggs in trees above the plants, so sometimes a second spraying is necessary after the grubs drop down from their hatching spot.
Three to seven fan divisions are recommended for transplanting, and the roots must be kept moist while the plants are out of the ground. Plant the rhizomes one inch deep (slightly deeper in sandy soils). Siberian clumps can grow undisturbed for several years, dividing being necessary when either the clumps become crowded or when vigor declines and blooms get smaller. COLD CLIMATES: Spring is the best time to plant or divide, with August as second choice. This gives the plant a chance to establish a good root system before winter rolls in. WARM CLIMATES: Avoid the hot weather periods; many prefer the cooler fall period. If unable to obtain plants at the best time for your area, you may pot them up and put in a protected area. If wintering over in cold areas in pots, be sure to set the pots in the ground, with the tops at soil level. Use of gallon size pots is best for this procedure. In any situation, keep newly transplanted plants well watered at all times, with one inch per week a minimum, and mulch for their first winter.

When to Plant: Spuria are dug in the spring/fall Rhizomes must be washed well and placed damp in a plastic bag for storage in the refrigerator, Plant as soon as possible.
Where to Plant: Spuria thrive in full sun best, but will do well on half a day’s sun throughout the year. They will tolerate partial shade, especially in areas that have extremely high temperatures in the summer.
Soil Preparation: Spuria prefer a neutral to slightly alkaline soil and they must have good drainage. Enrich soil by adding alfalfa and manure (see more about manure below). Heavier clay soil is much better than fine sandy soil.
Basic Planting Steps: Basically spuria need water, manure (see more about manure below), and mulch to become established. Begin the planting by making sure the soil will allow for good drainage and is enriched. Then make a hole about two inches below the surface. Add fertilizer (14-14-14 is suggested) to this hole. Then put lots of water into this hole. Finally add the rhizome, cover with soil and mulch. Watering this new spuria rhizome from the top of the soil is not sufficient for establishing a clump. Mulch spuria the first year of growth. Saw dust is the best mulch to use. After the clump is established, the mulch may be removed during the blooming season.
Distance Apart: Space spuria far enough apart to grow in the same location for years as Spuria irises resent being transplanted. Spacing spuria rhizomes three feet apart is suggested.
Watering: Water regularly from October through the bloom season until about July 1st. However do not let them sit in pools of water. During the hot summer, spuria can be allowed to go dormant by withholding water. If spuria do go dormant, be sure NOT to water as this will cause rot. Too much moisture combined with summer heat causes rot that damages the new growth.
Fertilizing. Ordinary lawn fertilizer (10-10-10) works well to feed the spuria in the spring and again in the fall.
Bloom Season: Spuria usually do not bloom the first year after planting. The second year should produce several bloom stalks. The bloom time is one to two weeks after the tall bearded irises.
By Dee Stewart
They grow on the West coast from San Bernardino Mountains, near Los Angeles to the central coast of Washington. Preference is lightly wooded areas, sloping ground that is both gritty and well drained. Growing them beyond the West Coast is best in climates with dry summers and typically in zones 7-10. In areas where summers are hot, it's best to grow them under a shade canopy and provide mulch to keep the roots cool. They cannot tolerate hot, wet, humid summers, typical of the southeastern United States. They have been successfully grown in zones 6 and colder if they are protected from hard winter freezes and too much moisture.
They are better grown from seeds as they do not like to be shipped. To grow from seed, planted up to ¼” deep in gritty, barky soil mix, that is best soaked for a couple of weeks before planting. Once they get to about 3” transplant to pot and place outside.
If you are transplanting, do so in the late fall when you can see the nice white roots that are actively growing and plump. Water as soon as you plant back or give away, heavy mulch is recommended the first year.
These are also called Californicae, Pacific Coast Natives, Pacific Coast Native Iris, Pacific Coast Iris, and Pacificas.
Arils are separated into two classifications Oncocyclus and Regelia iris. Regelia iris, designated with the letter ‘R’, have two buds per stalk and are noted for the most part for elongated standards and falls like Iris afghanica (Figure 2) with less defined signal or the absence of a signal at all as in the Iris hoogiana (Figure 3). These iris also may have beards on the standards. Oncocyclus iris, designated by the letter ‘O’, has a single flower that can be on stalks from six inches to 24 inches. These flowers can be large dome shaped (Iris haynei Figure 4) or domed standards with elongated narrow falls (Iris paradoxa) or they can even resemble Regelia iris (Iris acutiloba Figure 5). This group is the tightest hardiness zone and will die outside that zone without significant care.
Now things get complicated. Gardeners all over the world have crossed Arils with arils within their classification which are called Oncocyclus Hybrids (OH) or Regelia Hybrids (RH) such as “Turkish Topaz” (Austin 1962 Figure 6). The two classifications can also be crossed and produce Regeliocycli (RC) where the cross looks like the Regelia parent and Oncogelia (OC) which looks more like the Oncocyclus parent. Those are all the classifications for irises of pure Aril ancestry.
Now we are going to add bearded to the mix, well other bearded. It does not matter the class of bearded even if it is a species bearded not aril, the cross is still arilbred. Arilbreds no matter how they look, whether they show regelia or Oncocyclus characteristics they are still arilbreds, they are however designated by the cross and aril content. Starting with Regelia when crossed with another non-aril bearded iris the offspring would be a ½ regelia or regeliabred (RB). If that seedling is crosses with another regelia it is still a regeliabred but now has the distinction of being an RB+ meaning greater than ½ aril content. If the original RB offspring is crosses with another bearded iris it is still a regeliabred but with the distinction of RB- meaning less than ½ aril content. This group with the addition of the bearded iris increases the hardiness zone where they can grow, increase bud count but maintains some of the characteristics of the Regelia such as the bright colors and lines on falls and increases the number of bud from two to four or five depending on the bearded iris used. Some examples of Regeliabred iris included “Kazakhstan” (RB+, Elm Jensen, R. 1989), “Vera-Louise” (RB, Lawrence Ransom, 1995), “High Sierra Snow” (RB, John Wight, R. 2002), and “Childsong” (RB-, Elm Jensen, R. 1983).
Adding other bearded iris to Oncocyclus iris you get Oncobred (OB) and again the designation for aril content are the same with OB+, OB, OB- added. These iris show more Oncocyclus characteristics with defined signal spots and domed standards. This group has increased bud count and the range in which it can survive in increased slightly. Some examples from this group include 'Veiled Intruder' (OB+ Lois Rich, R. 1977), 'William Mohr' (OB, William Mohr, R. 1925), and Lady Mohr (OB-, Carl Salbach, 1943).
The last group is the largest group and it consists of Oncogelia or Regeliocycli crossed with other bearded iris producing Oncogeliabred. Again the designations for aril content are the same with designation of OGB+, OGB, OGB- added. Oncogeliabred iris increase the bud count and the range of these iris can include many area with little additional effort except in the moistest areas. The OGB+ iris can have many of the characteristic of either the Oncocyclus or Regelia and has the least increase in bud count and range increase. Many of these can actually look like pure arils like “Syrian Princess” (OGB+, Howard Shockey, R. 1987) or “Persian Padishah” (OGB+, H. Shockey, R. 1987). With some extra work some in this class can even survive in the Mid-Atlantic region. Those in this group with ½ aril content (OGB) also have at least three aril characteristics and many can grow along with the bearded iris. Some of these include “‘Lakeside Elf’ (OGB, Moran 2007), ‘Asenath’ (OGB, Moran 2010), ‘Anaheim Daughter’ (OGB, Moran 2008) and an arilbred that is still winning Best Specimen in Show “Esther, The Queen” (OGB, Eugene Hunt, R. 1967). Those of the OGB- group can often be planted without additional fuss with other irises but still maintains at least two aril characteristics. Some of these it may be difficult to tell they are arilbreds at all but most hybridizers register those that look aril-like. Some of my favorites are “Jallab” (OGB-, Keith Keppel, R. 2003), “Jacob’s Well” (OGB-, M. Brizendine by J. & L. Frye, R. 1986), “Suspect” (OGB-, Thomas Johnson 2006), and “Eye to Eye” (OGB-, Keith Keppel, 2008).
O Oncocyclus Species
OB (and/or +, -) Oncobred (O or OH X Bearded)
OG (and/or +, -) Oncogelia (O X R)
OGB (and/or +, -) Oncogeliabred (O X R X Bearded)
OH Oncocyclus Hybrid ( O X O)
R Regelia Species
RB (and/or +, -) Regeliabred (RX Bearded)
RC Regeliocyclus (R X O)
RH Regelia Hybrid (R X R)
(-) Less that ½ Aril content but more than ¼ Aril content ( i.e. ABBB)
(+) Greater than ½ Aril content (i.e. AAAB)
(No sign) ½ Aril content (AABB)
By Anita Moran


