
The rain has finally decided to give us a break of more than two straight days, which is a record for this year. It rained a littleThursday, but I went plant shopping anyway, umbrella in hand. I found a one-gallon Nandina and Ilex crenata, and a three-gallon Loropetalum, all with the intention of creating bonsai with them. Then I went to Lowe's to see what they had, and found a new shipment with more one-gallon Ilex crenata, a few different species of juniper and Mugo pines, which I've been looking for. I found one of each with promising bonsai potential, then found a clearance rack with more juniper and chose three more with potential. I brought them home and began working with them Friday, until dark, then got back to them Saturday. Some small bonsai training pots I'd ordered came in Saturday, just in time for freshly prepared occupants.


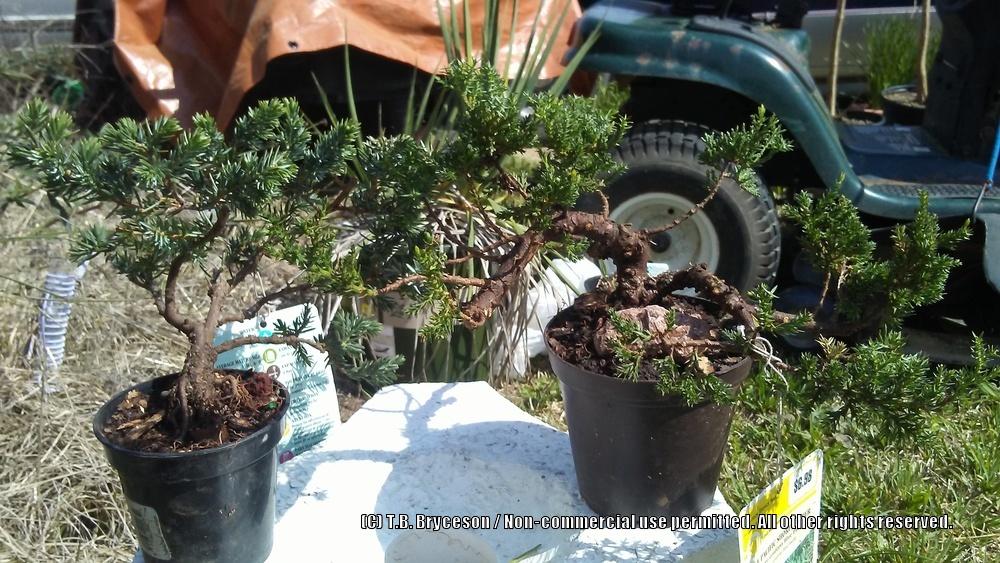

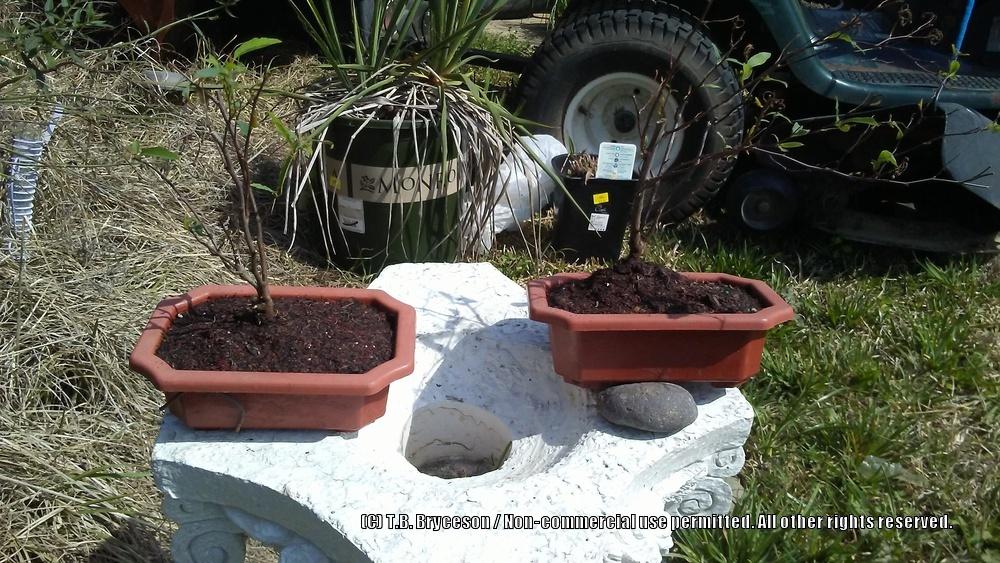
The juniper in the second photo that is wrapped in white cloth is being trained in "root over rock" style, and the cloth will come off at least halfway next year. It already had great roots that I could've left exposed and it probably would've done fine, but I wanted to be sure it did well. The one-gallon Mugo pine actually had two plants in it, and both had fantastically formed large roots! One will be simply exposed root style, while the other is being trained over a rock. I haven't included photos of them because the roots are currently hidden in deep pots being trained and, frankly, young Mugo pines still have long needles and are unimpressive. But they both have great potential and I'm looking forward to getting the needles trained down to a suitable size.
Sunday I worked on the popcorn popper cart terrarium, and it's 95% finished; I still have to add moss and replace the light switch with the newly-arrived LED dimmer switch, but here are some photos of it so far:
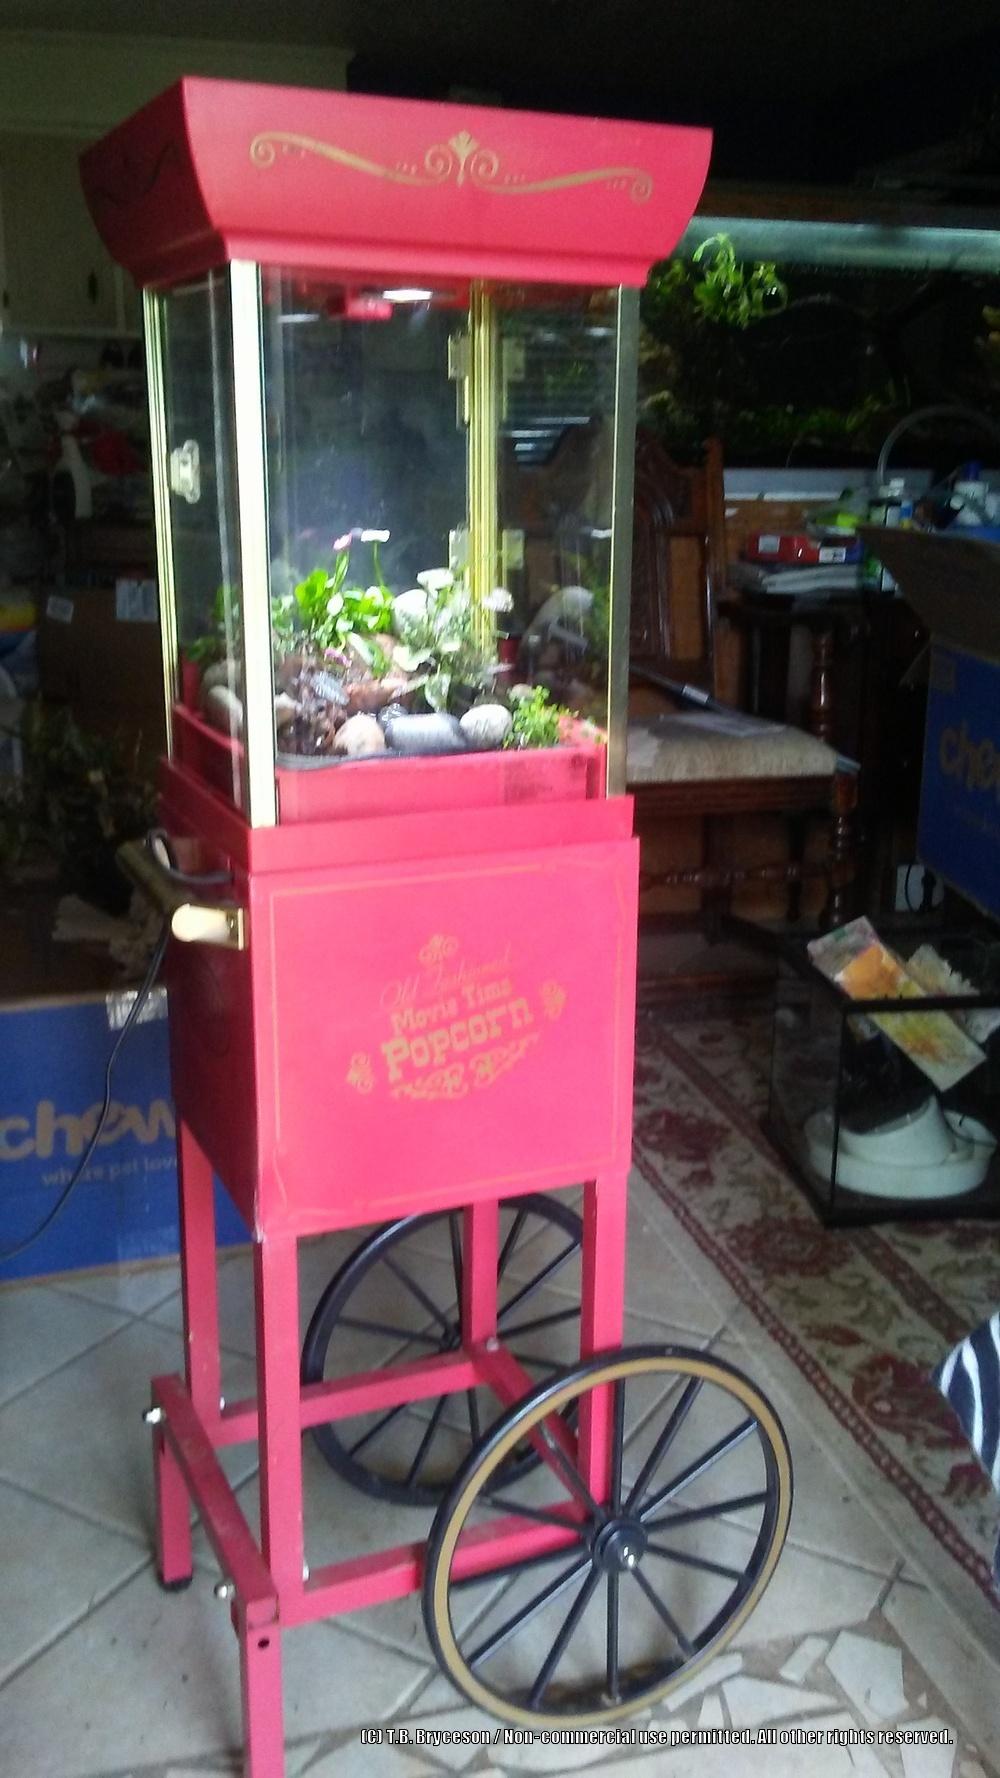
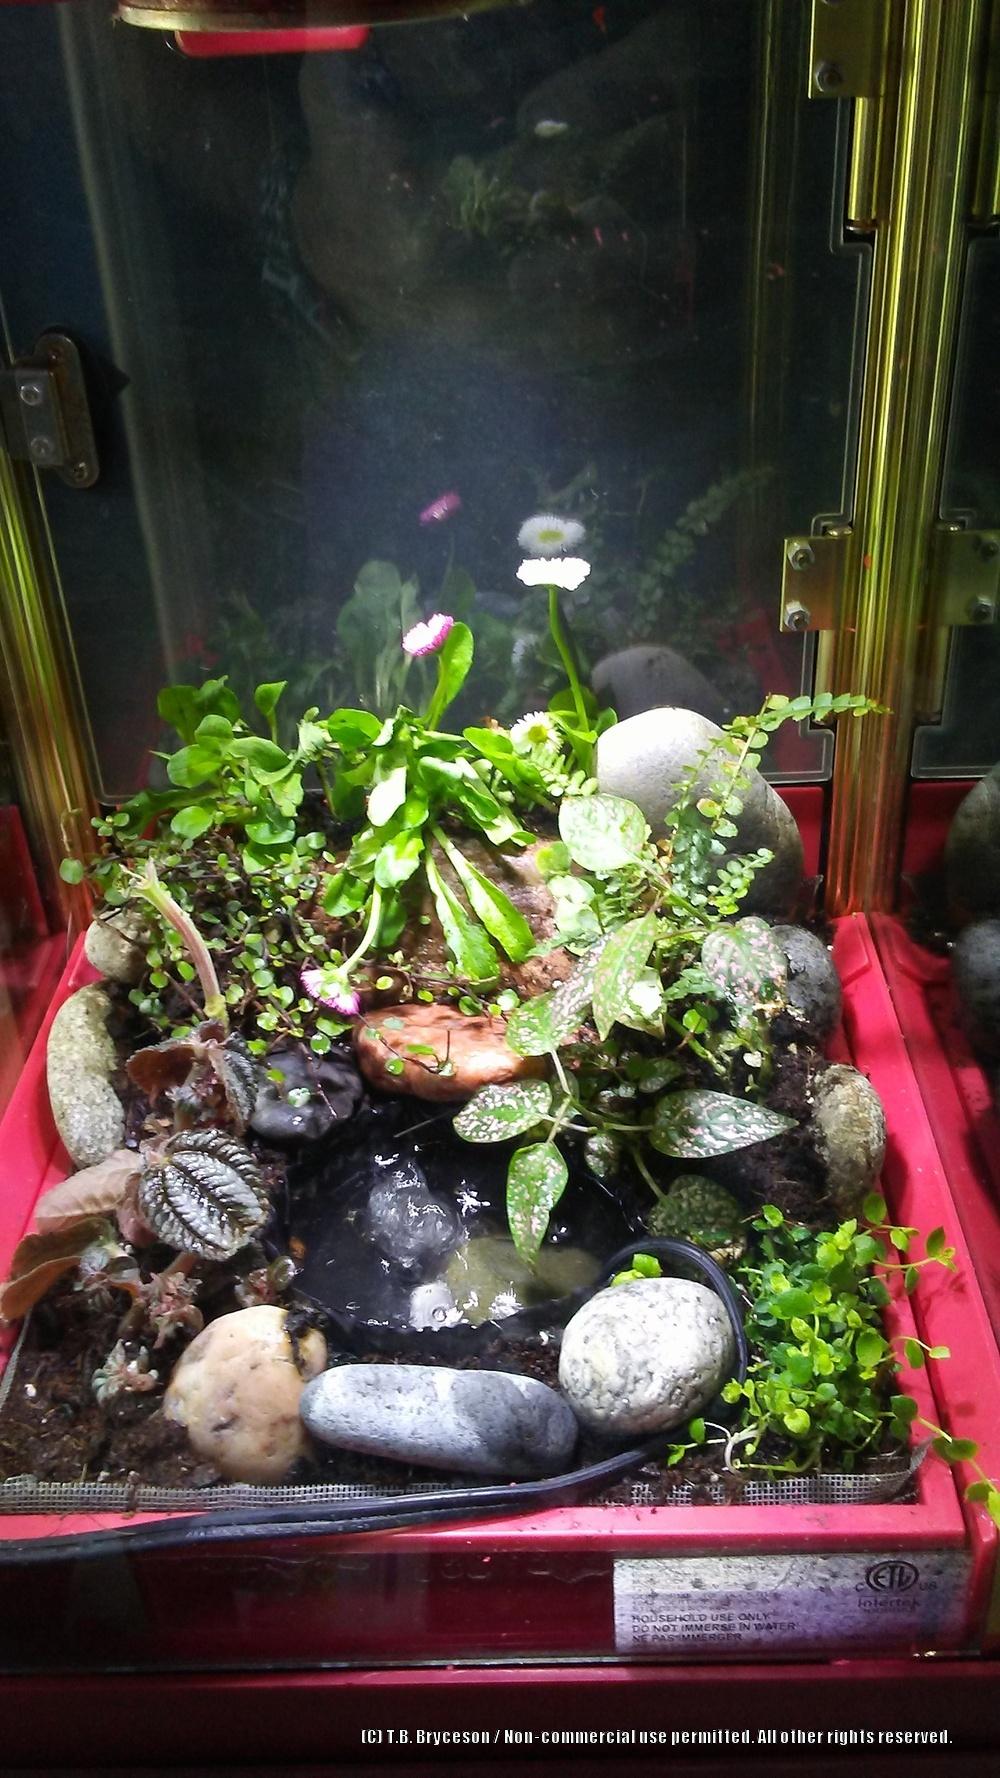
For the substrate, I used one inch of some small aquarium gravel from the 1960s that I inherited from my mom and would never use in an aquarium, since it's a mostly light green confetti mix. Not my style, as I prefer more natural colors. (Hey, in my mom's defense, it was the '60s, the psychedelic era!) I placed a thin layer of activated carbon on top of that, with plastic canvas (like for cross-stitching) cut to fit, then nylon window screen on top of that. The growing medium is about 1/2 coconut fiber terrarium substrate (which pretty much has no nutritional value for plants, but holds moisture well) and 1/2 potting soil. I cut the bottom off of a prescription bottle and cut vertical slits at the bottom, and installed it into a corner hole cut in the plastic canvas and screen so I would be able to see the depth of the water table. I placed a cylindrical rock that fit snuggly in the top of the bottle to act as a lid and keep the substrate out of the hole. I'll let the plants settle in and then add moss, and swap out the dimmer switch later. At that time I'll take some photos of the modifications in the top, including the Vienna Sausage cans used as recessed lighting fixtures for the LED spotlights.
I decided to get the back garden patio cleaned up for Spring. The large pine it's under had shed a ton of needles over the winter, so I had to rake needles then blow the little trash off with the blower. I fished the old stalks of Ribbon Grass out of the half-barrel water feature (man, that water was COLD!) and trimmed off last year's dead blades with scissors, along with a few adventurous early new growth, since I wasn't about to pick through that thick tangle to spare the few blades of new growth! You'll never know it in a month, anyway. I plugged in the pump for it that I had unplugged for the winter, along with all the lights on automatic timers.
I repaired the expensive hose (now two shorter hoses) I had run over with the lawnmower last year. I thought I could salvage one part for short connecting hoses, but about 20' was chopped every 6", so all that's good for now is protective padding for wiring and clamping bonsai. That won't happen again, now that I extended the waterline across the back yard. Which, I'm happy to report, is working perfectly, since the kinks and idiosyncrasies seemed to have worked themselves out. (Yay!)
After getting the patio cleaned up, I wanted to stay out and enjoy it with the lights on and torches lit, but it was getting rather chilly, so I retired to the warmth of the house.
Last year, I had used wire clips to hold the little solar lights to the ceiling of the play house I got for my granddaughter, but the adhesive pads on the clips didn't hold, so I bought some new double-sided tape, and I'll re-stick those tomorrow, when it's warmer. I can't complain about the adhesive clips not sticking well, since they were over twenty years old! They were in my dad's things I have in storage, a stockpiled collection of all kinds of handy things I draw from often, and think of him when I do.
I didn't get everything replaced from moving stuff to clean under, so I'll do that tomorrow, as well. Then there's the flat mower tire to repair so I can mow the back garden, finishing laying out the drip system, repairing the pond liner and digging the small pond, getting the tractor and grader blade from my other property so I can do the desperately needed landscaping in the front yard and the desired landscaping in the back garden so I can go forward with putting plants actually in the ground permanently instead of in temporary pots.
Which reminds me, a few weeks ago, I went over to my 10 acres and collected some paperwhites and daffodils, ferns, moss and three 6'+ Sycamore trees to plant here. They were growing out of the asphalt of the old driveway, so I wasn't able to make the hole very large and get the size of rootball I wanted, so I'm hoping they recover in the pots I put them in. I may have to trim some foliage to keep it from taxing the compromised root system too much until the roots can catch up. Everything I collected is in pots, and there are still some more plants I want from over there, like some mimosa, spiderwort and lyreleaf sage, as well as some antique roses that are growing wild. I should really get back over there to collect plants soon, before they get ramped up for Spring, so they aren't stressed too much. I may have to put off doing some of the things in the back garden that aren't time sensitive and go collect those plants.
Radly
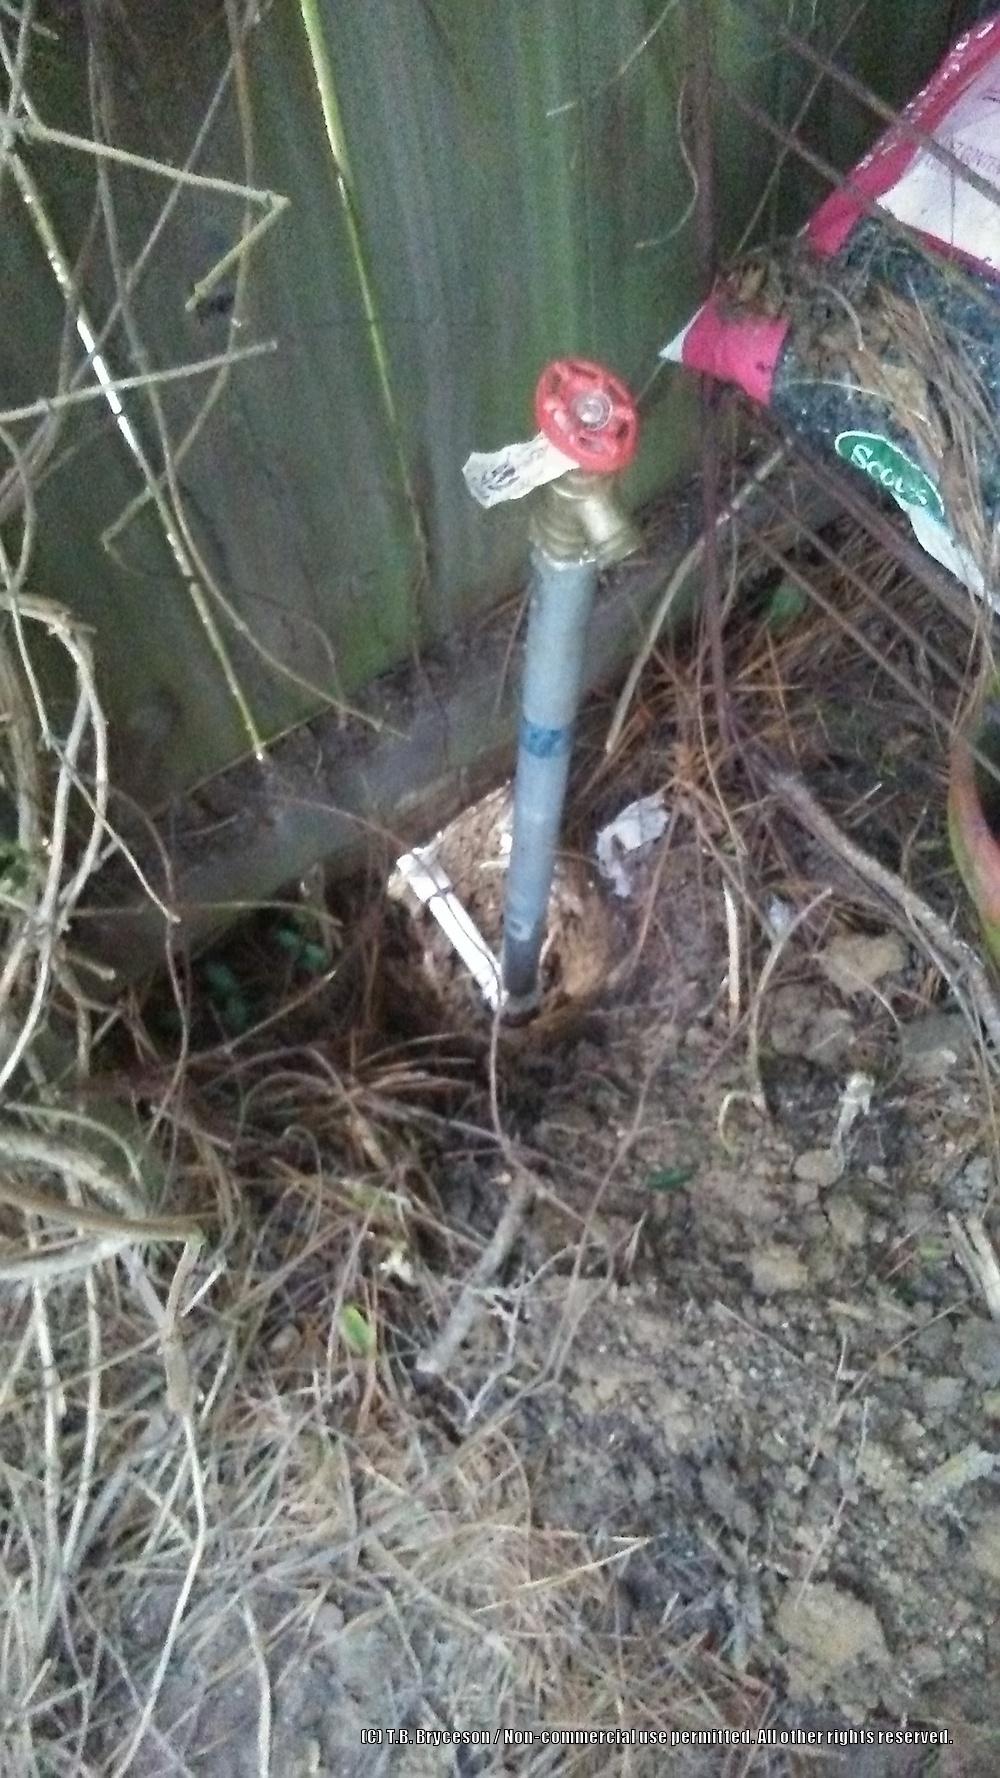
When pressure-testing the waterline, and because we'd had a little rain during the night before, the dirt wasn't perfectly dry, so I placed paper towels beneath joints to better show any leaks. All of the cemented PVC connections were fine, but the #2 faucet behind the fence had a slight leak where it screwed onto the galvanized upright pipe. I had noticed before that this connection didn't want to screw down as far as the other faucet, and upon removing it and examining it further, I saw what seemed to be an imperfection in the deeper threads of the brass faucet head. I didn't have the tools to ream it out better, so I gobbed on the joint sealant and torqued it down an extra 90° the second time. That put the faucet at an angle parallel to the fence instead of my intention of it facing directly away from the fence, but it solved the leak problem and there's still enough room for my watering timer, so it will serve.
That leak was solved fairly easily, but then I found that the #1 faucet leaked at the valve stem, but only when the faucet was turned to the "off" position. This was puzzling, since the stem itself should have no pressure reaching it if the valve is screwed down and closed. Upon thinking about it, I think the valve itself must not be seating properly, and I didn't notice the flow before because I had the hose hooked to it and the spray nozzle turned off, but the valve was fully open. When I closed the valve with the hose still attached and the nozzle off, with the faulty valve seat leaking, the pressure had nowhere to go but around the faulty seal around the stem. When the valve is open and under pressure, the stem seals properly, so that part isn't a huge problem as long as I can get the valve to seat properly when it's closed, unless, for some reason, I wanted to run the faucet/hose half open, but that wouldn't be a big issue. As I mentioned before, these parts were cheap and, now I'm thinking, possibly "seconds", or a bit faulty, so maybe I'll need to work on them a little. Oh well, I'd rather spend more time than money, and they did save me a bunch of moo-lah. I'm sure the problem can be addressed fairly easily. I just hate that the job's not perfect...yet.
So that's next on my agenda, aside from collecting some sycamores and some other plants from my other property while the weather is nice and while the plants are still somewhat dormant. With this warm weather we're having so early, I'm not sure how long my transplanting window will be open before the plants will be too active to avoid majorly stressing them, so I need to get that done ASAP.
Radly
After long planning and much procrastination, I finally started running a water supply line to the back patio and garden area. Well, at least it's to the patio, behind the fence. I installed a "T" off the line that is capped for now, but will make it easy to expand the system farther into the garden later on.
Although I've owned at least two of them at one time or another, I couldn't find my "sharpshooter", or "drain spade", and believe me when I say that if you don't own one of these short, D-handled and narrow shovels, you NEED one. There's nothing better not only for digging narrow trenches, but for digging up plants or holes for plants. It is narrow and long, and be sure to get one with a fiberglass handle, because you can put a lot of pressure on it leveraging slices of heavy soil out of a trench. I won't even buy a tool anymore unless it has a fiberglass handle; they're practically indestructible.
So I bought another one and sharpened the bottom half of it to a nice root-cutting edge. I started the trench by digging a hole with the post hole diggers which I'd already sharpened before. Sharpening your digging tools makes the work so much easier, but I know many people don't think about it. After all, you're cutting through soil, clay and roots, right? So put a cutting edge on your tools! Just be EXTRA careful not to cut off a toe after you've sharpened them.
Ok, so I finally got the trench across the back yard done.

Next I bought the plumbing parts I needed at a local discount building supply that buys NOS, discontinued items, overstock, etc., anything cheap, and they sell it cheap. It cost me half or less for what I bought as opposed to going to the "regular" stores. I already had a lot of 3/4" PVC pipe that my dad had used to make a greenhouse frame, so this was a good time to use that (especially since I'd been storing it for 20 years!).
I assembled the faucets and adaptors to the galvanized pipes with pipe sealant to the point of the slip-fit PVC connections and placed them near where they'd go, then laid out the PVC pipe to be sure I had pulled out enough.

Next, I connected all the pipes using the proper PVC primer and cement, set all the PVC fittings for the ends to their proper angles and primed and cemented them, not yet connected to the main line. After all the ends were ready, I began at the house end upright assembly and glued it to the main line. I then connected the two garden valve (faucet) assemblies on each side of the fence to the PVC assembly that went under the fence. I had waited to connect this PVC assembly to the main line so it would be easier to keep the angles in the correct attitudes. Once the entire end assembly and faucet assemblies were in their proper position, I measured the length of pipe I would need to connect to the main line, cut and connected it, making sure the upright pipes at either end were oriented correctly, so that the main pipe wouldn't be torqued and stressed.
The house (supply) end:
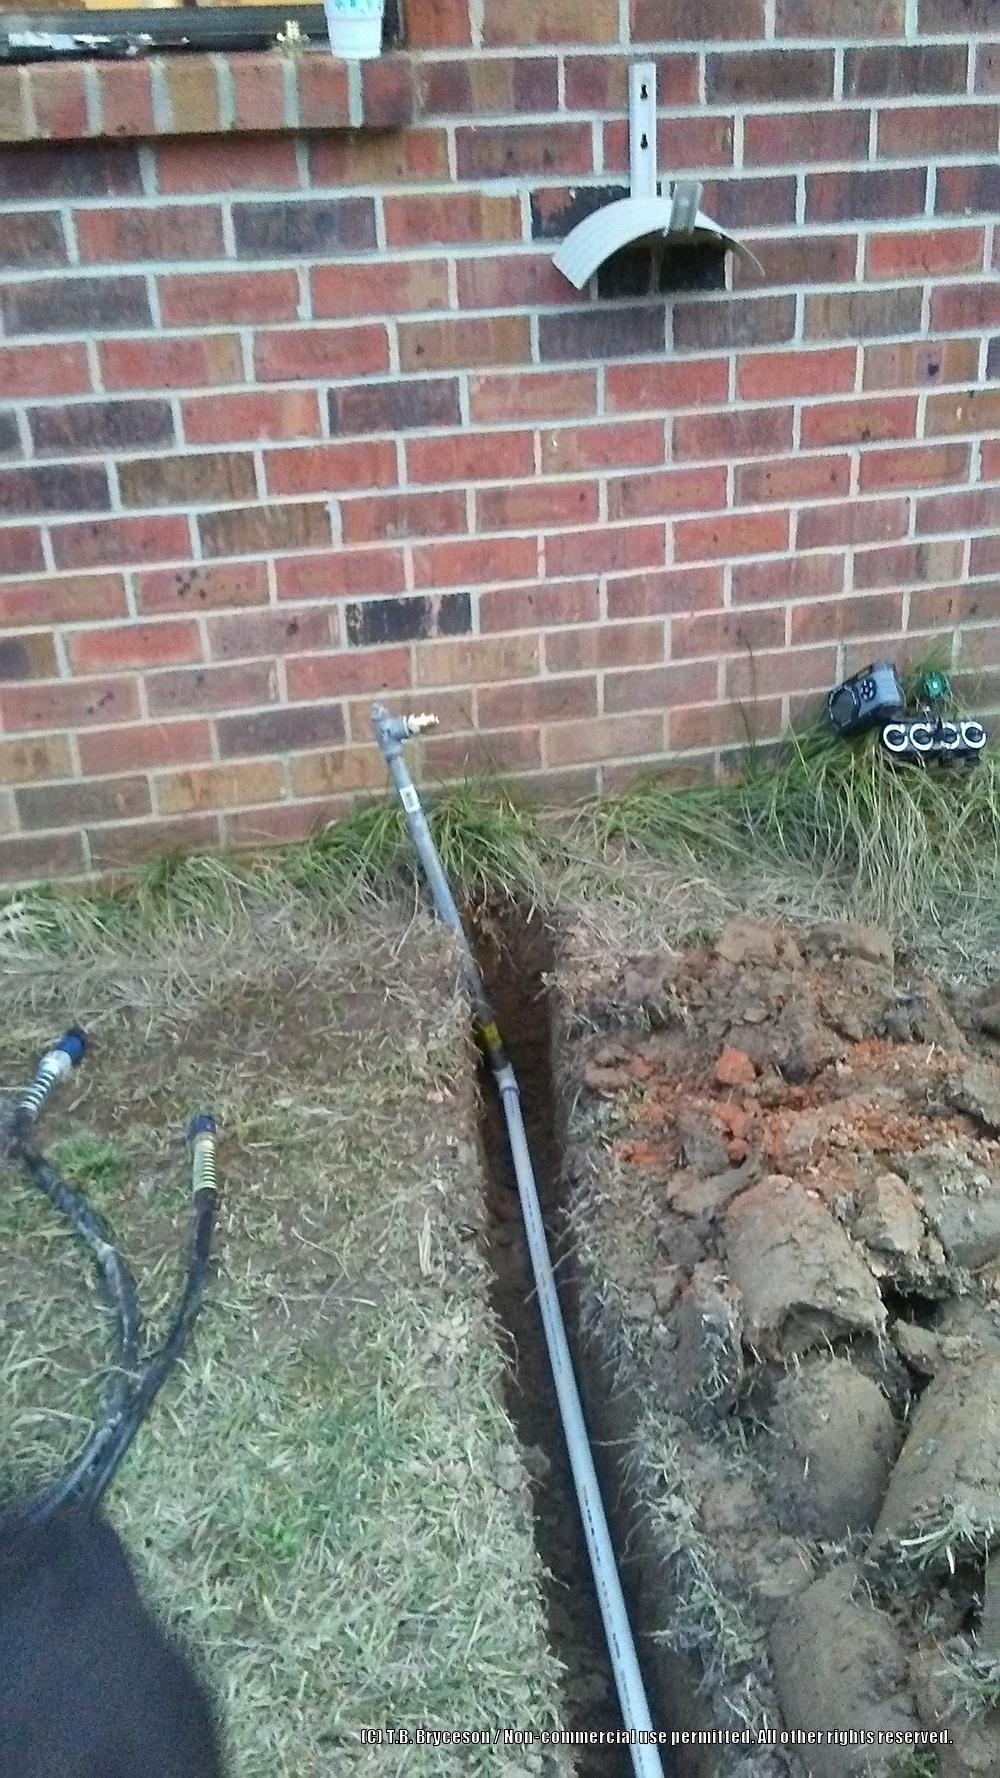
Going beneath the fence, faucet #1:
The capped-off "T" that will make it easier to expand the system:

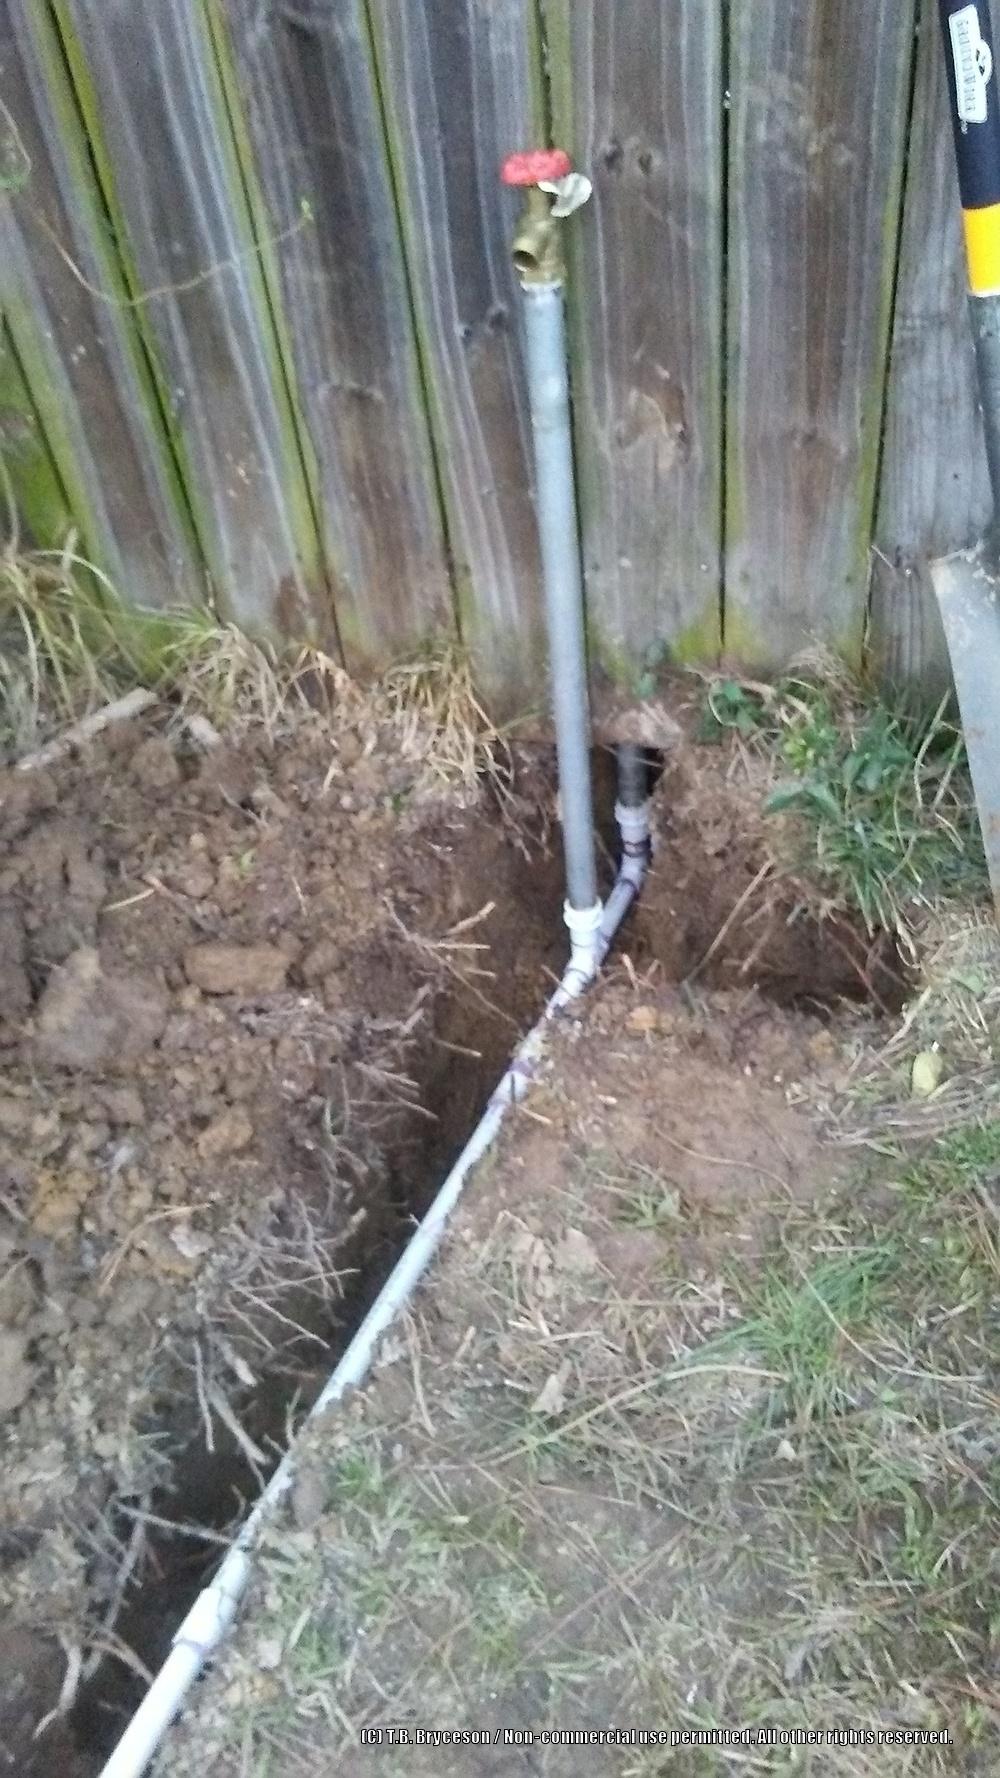
The faucet behind the fence, near the back patio:
Now all I need to do is hook it up and pressure test it, and if all goes well, lay the pipe into the trench and fill it in, then "viola!", no more long hoses stretched across the yard and having to roll them up or move them every time I mow the grass! Also, it will be alot easier to set up my drip system in back with the multiple timer I bought last year. :)
Radly
Well, it took me long enough to get back to this blog, and although I have some other projects and items to post, I did say I would show my patio water features next, so I will do that before I go into the other things.
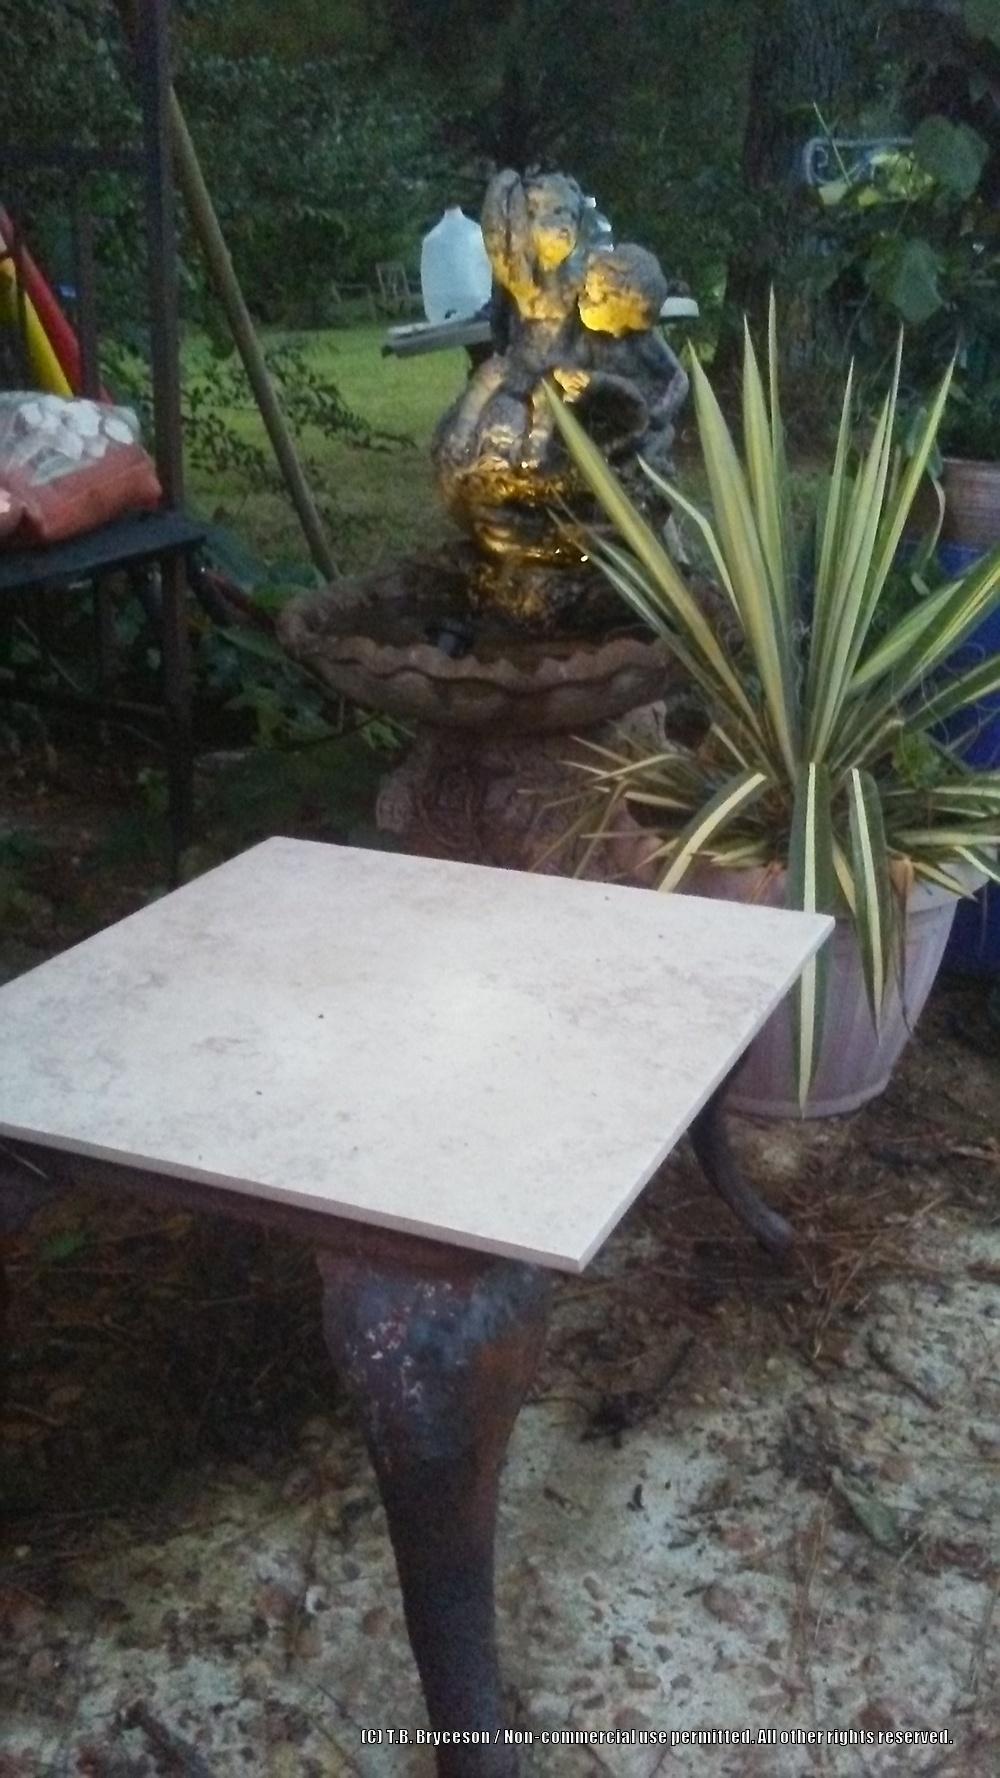
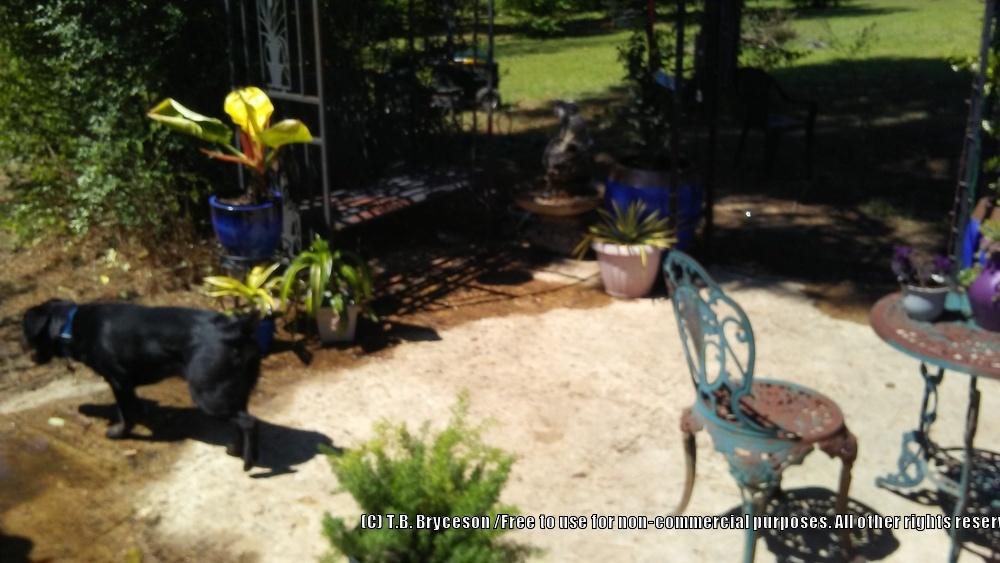
The first is a little cherub fountain that my dad had on his back porch. It is in the back corner, beside the arbor bench. In front of the bench is a table created with small cast iron stove base and a large ceramic tile for the top. A handy feature of this little table is that the stove base has a little space beneath the tile that can be used to keep small things out of the weather, such as lighters, printers, etc. The yucca in the pot will be planted in the landscaping when a spot is selected for it. There is a waterproof solar LED spotlight in the fountain's bowl that illuminates the cherubs. This fountain is susceptible to running dry from evaporation (and dogs drinking from it), so it will be supplied daily by the drip irrigation system and watered automatically so the pump doesn't get ruined.
The other water feature is in the opposite corner and consists of a large plastic half-barrel with Ribbon Grass "Strawberries and Cream" and a large dark purple (almost black) taro (?) of a variety that escapes me now, both sitting on bricks inside the barrel. The old cast iron handpump was my mom's, and I was originally going to route the pump outlet through that, allowing the water to cascade into the barrel, but I decided I preferred the "bubbler" effect better, so the pump is just decorative.
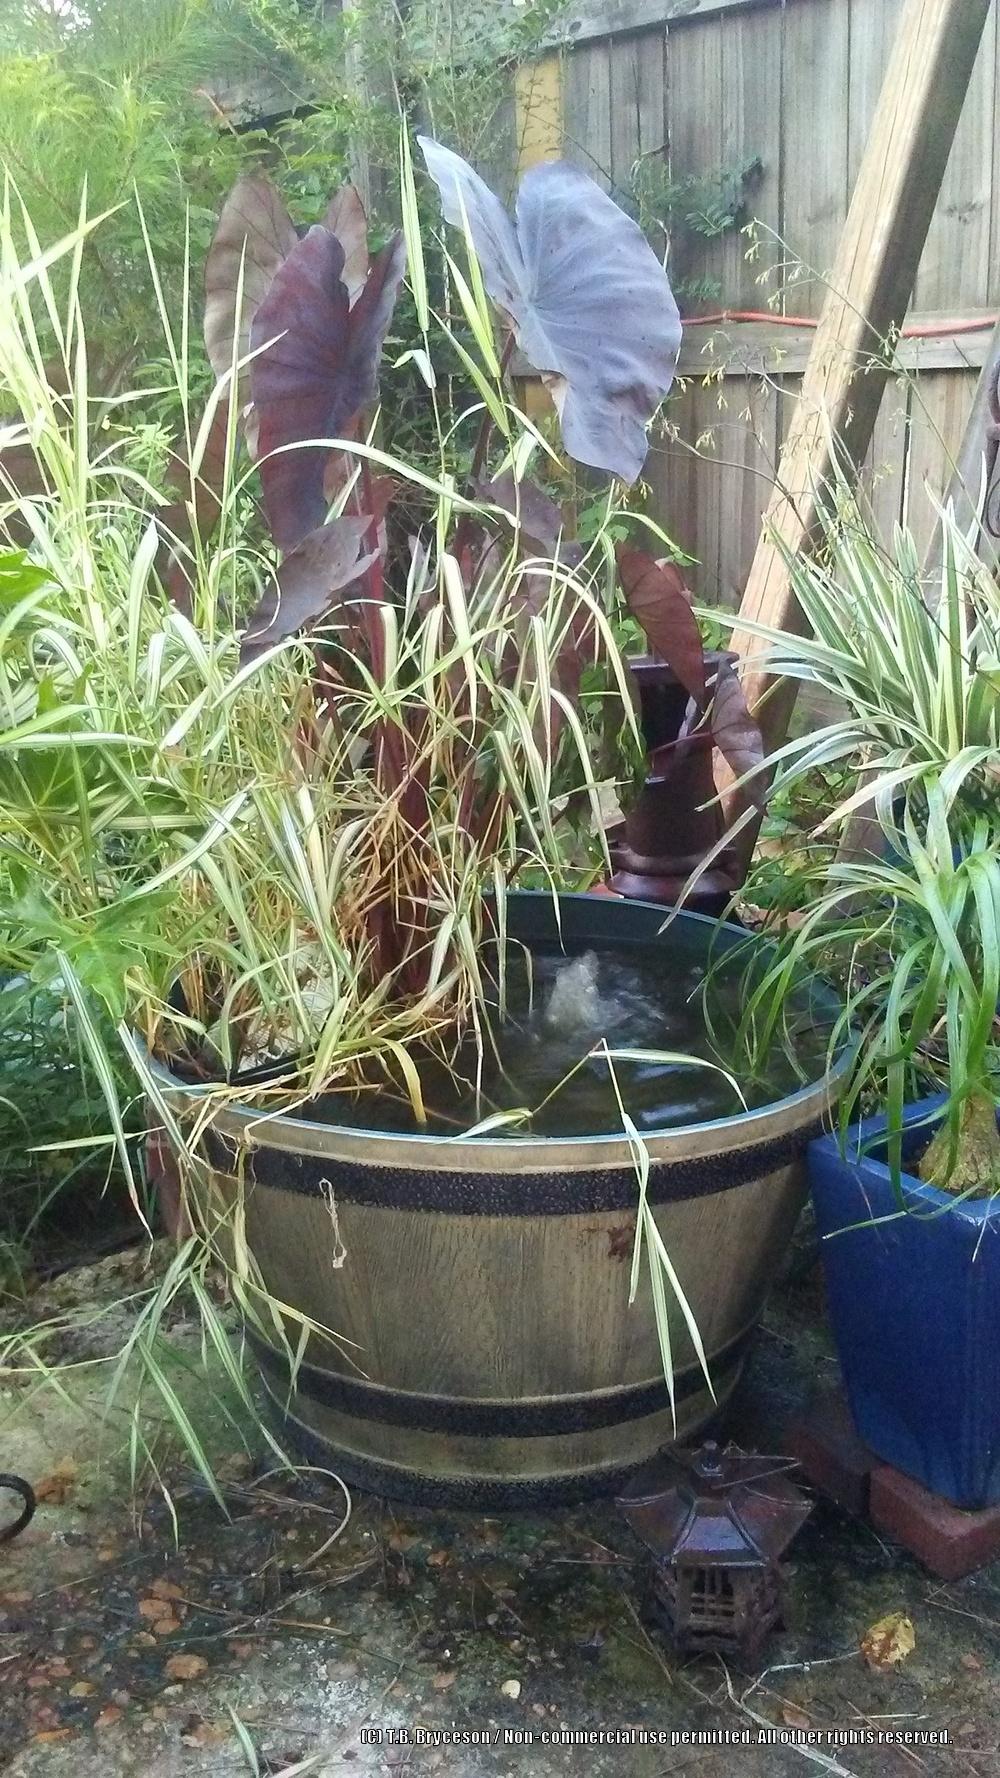
It also has a spotlight, this one an old low-voltage one I've had for a long time. I replaced the original halogen bulb with an LED bulb.

I have some other fountains and water features I'll be setting up eventually, but for now that's it.
Radly
As I mentioned previously, I discovered a concrete pad in the garden area behind the back yard fence and beneath a thick layer of decayed leaves and pine straw. My daughter helped me uncover some of it with a hoe and shovel, but the going was slow and we only found the front and back edges. I later dug out one side that was under actual dirt, but the edge of the other side, where the pad was headed for the large pine tree that shades it, was still a mystery beneath the pine straw mat we had discovered was more easily rolled up like a carpet than dug out. But we didn't finish rolling it to the edge, so it was left as a lump with who knew how much more concrete underneath. I was cutting the grass back there one day and chose to mow over that hump because weeds were starting to overtake it.
Well, you know from my past post that I don't believe riding mowers are only meant to cut grass and that they are capable of all sorts of things with the right technique. In fact, my little Craftsman mower is labeled "LT 1000", and the "LT" stands for "Lawn Tractor". Note the word "Tractor". That's how they labeled it, and I'm going to hold it to that definition; so far, it hasn't let me down.
So I run over this decayed pine straw hump with the mower deck at its highest setting first, and dirt, dust and bits of old pine straw are flying everywhere! Ok, so I know I'll need to sharpen the blades after that, but that's no biggie. Then I realized this was getting rid of the hump, and I further realized that if I dropped the mower deck down to its lowest setting, it would push that loose layer of decayed pine straw like a grader blade!
Now, I'm not recommending that you should do any of these things I do with my mo-...I mean my "lawn tractor", with your own "lawn tractor", so don't complain to me when you try any of my ill-advised antics and you break your equipment. I'm just telling what I did and that it worked. As a matter of fact, I've done more damage to my mower by just cutting grass, like it was designed to do. Granted, it wasn't meant to mow over large rocks that your offspring leaves in the tall grass, but I'm capable of doing most repairs and basic parts-changing on the machine, so I'm willing to take the risks. (This is a legal disclaimer, in case it is needed.)
Anyway, to make a long story short (too late for that?), I used my lawn tractor's mower deck in various ways to loosen and blow and push all that material off the rest of the concrete pad. It ended up being about two more feet of concrete hiding under there, and I swept up all that decayed pine straw (yes, manually, with a broom) to use as a soil amendment. Here it is, in my trailer, before I transferred it to my garden cart to free-up the trailer.

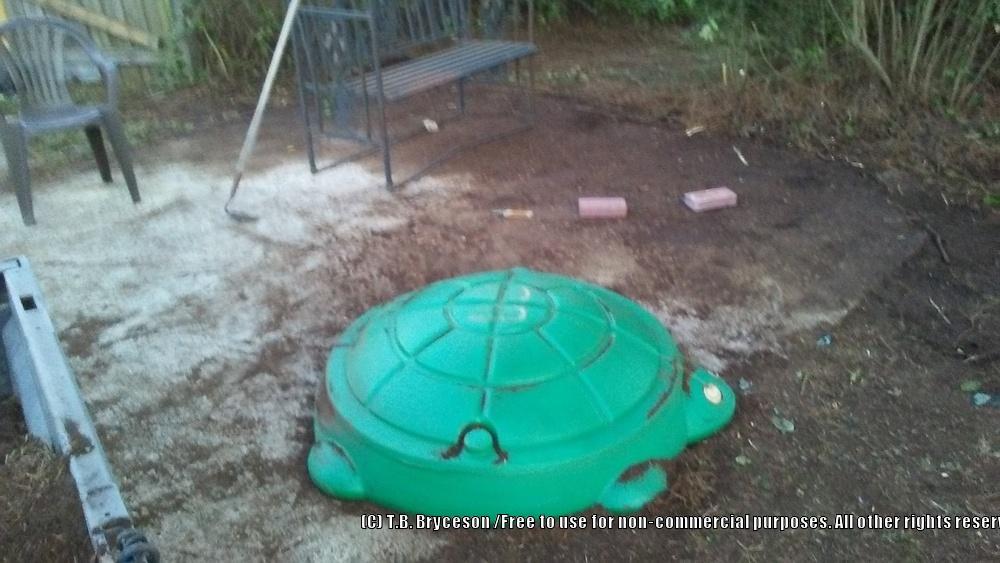
Here you can see what I cleared off; the dark part is what was still hidden. By the way, that little turtle sandbox has 150 lbs. of sand in it, but I was able to scoot it around with my mower as well. (I'm gonna have to give that thing a name, because it's getting tedious typing "my mower" and "lawn tractor" all the time. Any suggestions?)
So now I had the entire slab exposed, and even discovered a little concrete square at the front, which must've been at the door of the shed that used to be here. Let me elaborate on this fine piece of redneck craftsmanship; you know how people sometimes celebrate finishing a job by kicking back with a six-pack of beer? Well, I strongly suspect that instead of a six-pack, these talented workers had a whole case of beer, and they finished it off BEFORE they even started the job!
"Alright, we got the forms built, now let's pour some cee-ment."
"Naw, it's hot, let's have a beer first!"
"Good idear! I got a whole cooler full iced-down in the truck, ratcheer!"
And that's how this slab was brought into the world. It is unlevel, uneven, unbecoming and an unbelievably forlorn example of a DIY project. But, hey, it's concrete and not just a cleared patch of dirt, so it's better than nothing, right? Despite the 2×4 and 4×4 holes in it (the shed was obviously already built when they poured the slab) and the high and low spots and the puddles of water that won't drain off, it's a functional patio. Being that it's right next to a large pine means that it is fairly shady much of the day...and that it catches an abundance of pine needles constantly, that clutter it up and get in the fountain. But it's my garden patio, and I love it.
I moved a small metal pergola/arbor to be the entrance from the patio to the rest of the proposed garden and strung two strands of 100 LED lights (like Christmas lights with brown wire) on it from top to bottom, down each side.

That turned out to be way too much light in one spot, although being so bright and with the lights down to the concrete, beetles were attracted like crazy, and my dog was beside himself, snacking on the crunchy critters as fast as they hit the ground. Yum, huh? Well, he thought they were popcorn. I later moved one set of lights to the arbor bench and repositioned the other set to just the top of the pergola/arbor, and also moved it to the entrance from the back yard. It looks much better like that, although I don't have any photos of it yet.
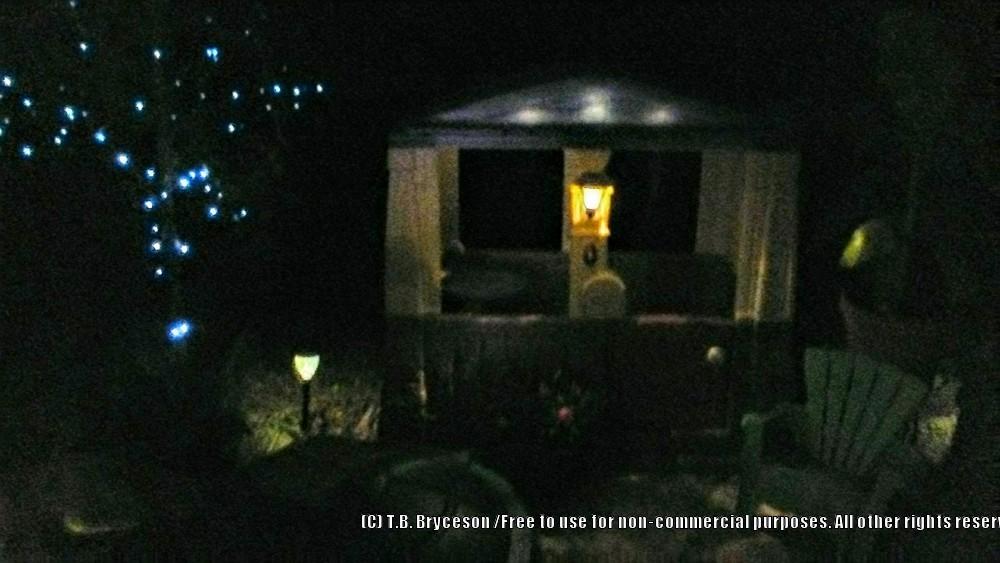
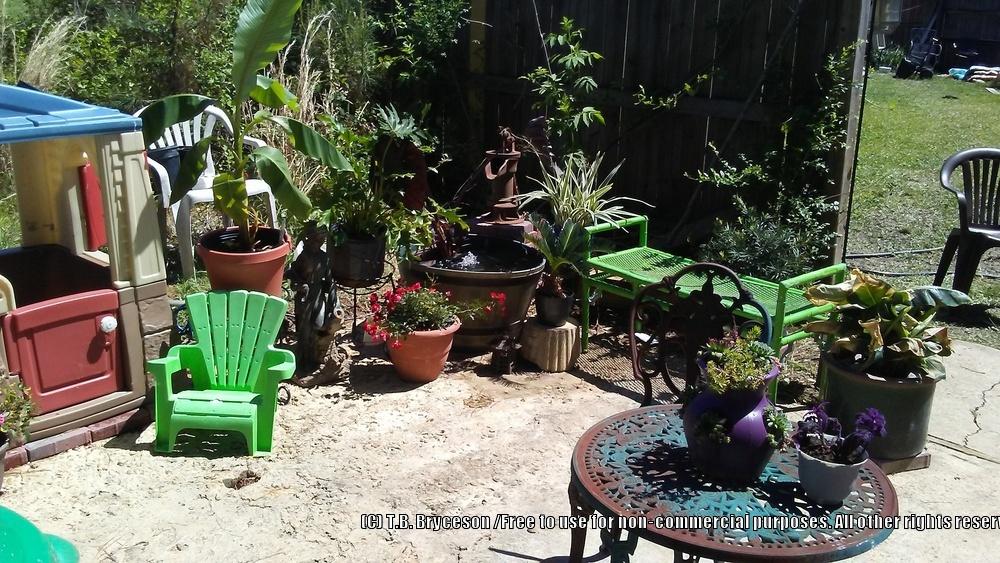
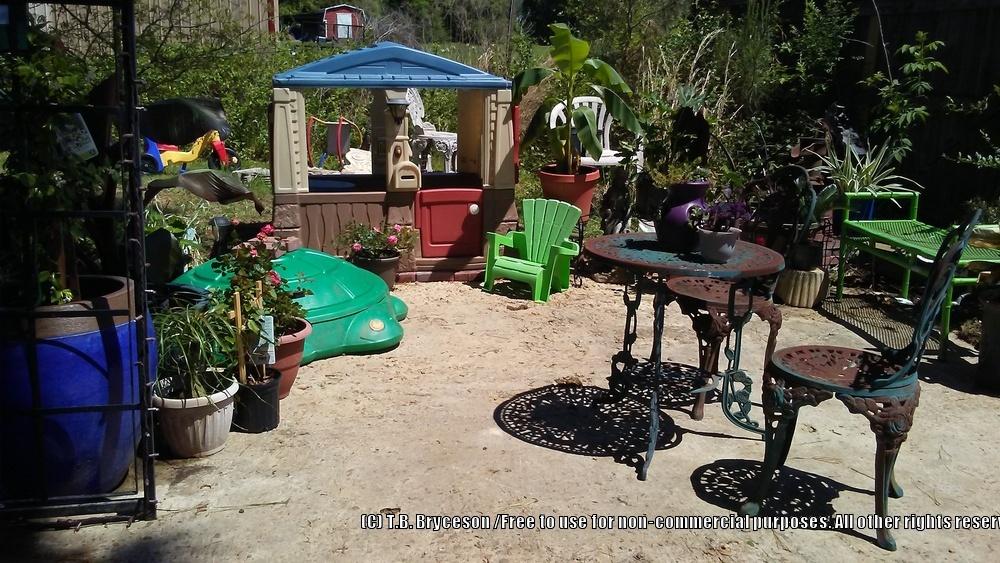
I happened upon a plastic play-cottage that someone had set on the side of the highway to be picked up with the trash, but the garbage men never got a chance at it. It had a couple of fixable blemishes, so I loaded it up in my El Camino and brought it home for my 3 yr old granddaughter to play in. I moved this to the edge of the patio and bought a string of solar lights which I mounted to the inside of the roof with sticky wire-holders. I also took the stake off of a solar path light and used it as a little porch light on the cottage.
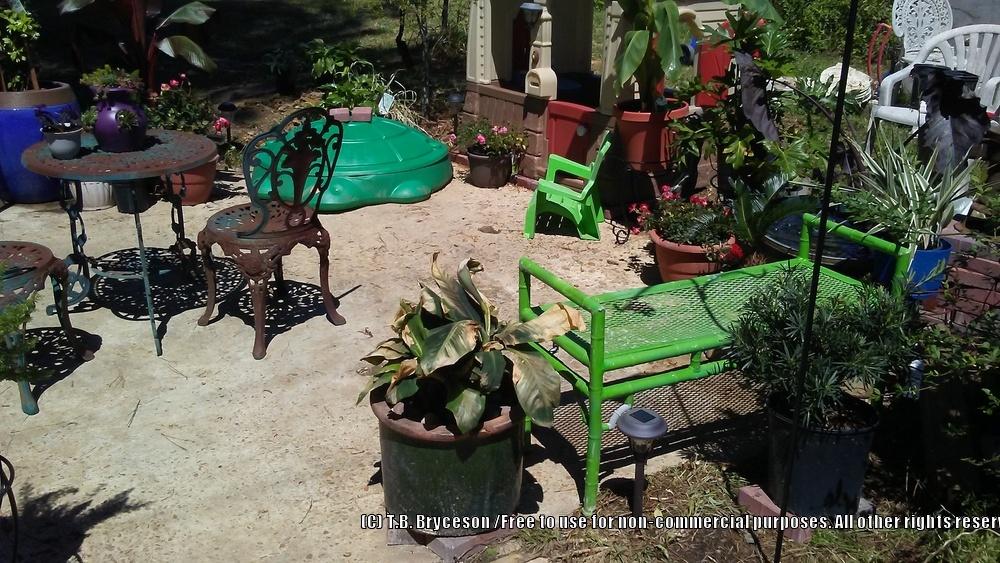
I positioned the turtle sandbox in front of the cottage so everything is right there in the same corner for her. In these photos, you can also see the rest of the patio furnishings, including the cast iron bistro set that needs to be repainted, along with other items that aren't up to par or where they will eventually end up. Also, that dwarf banana looks so bad because I didn't let It "harden" when I moved it out of the house (with grow-lights) into the direct sunlight. It looks alot better now. The patio looks a little cluttered to me, but part of the placement is dictated by the fact that I have to bring my mower across the patio to get from the garden area to the back yard. This will change soon, because I'm putting in a new wide access gate in a different spot and cutting the existing full-panel gate down to just a man-sized gate width.
I'll go into the patio's water features in my next blog post.
Radly