


Nearly every fruit tree you have ever picked from, whether in a backyard or an orchard, was grafted. A favorite variety joined to a hardy, well-rooted base can outlive the gardener who planted it, and the same technique lets you grow several varieties on one tree or bring a beloved old family tree's fruit into your own yard. Grafting looks like wizardry, but it is a learnable skill, and this guide walks you through it.
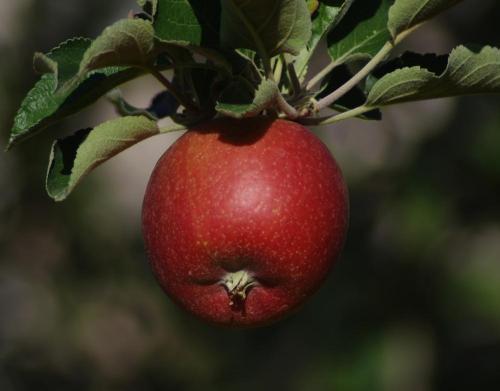
- Apple (Malus domestica 'Braeburn')
- Uploaded by dirtdorphins
What is Grafting?
Grafting is the process of connecting two different plants so they grow as one. In its simplest form, you insert a small twig cut from one fruit tree (called the scion) into a cut in another, compatible fruit tree (called the rootstock). If the graft is placed correctly, the scion will grow on the host tree and eventually produce fruit.
All grafts consist of two key parts: the scion (the detached flowering and fruiting top portion from your desired variety) and the rootstock (the established, rooted portion that provides the root system). When these two parts unite successfully, they become one tree capable of bearing fruit true to the scion's variety.
Why Graft Fruit Trees?
Grafting offers several important advantages for home gardeners:
-
Combine desirable traits. You can graft a flavorful fruit variety onto disease-resistant or dwarfing rootstocks. For example, a premium apple variety can be grafted onto a rootstock that naturally limits the tree to 15 feet instead of 30 feet.
-
Grow multiple varieties on one tree. Instead of planting three separate apple trees, you can graft three different varieties onto a single rootstock, creating a tree that produces red, yellow, and green apples maturing at different times throughout the season.
-
Repair damaged trees. If a valuable tree loses its top to winter damage or disease, grafting new growth can restore it.
-
Propagate favorite varieties. You can create new trees from a neighbor's exceptional fruit tree or from heirloom varieties you want to preserve.
Compatibility and Rootstock Selection
Not every fruit can be grafted to every other fruit, but many are surprisingly compatible. In general, varieties within the same species graft well together: any apple variety grafts onto any other apple, any pear onto any pear, and cherries to cherries.
Among stone fruits (genus Prunus), which includes almonds, apricots, nectarines, peaches, and plums, there's more complexity. Most of these are compatible with each other, but occasionally complications arise. For instance, some plum rootstocks won't accept peaches or nectarines. Some almond varieties require an intermediate "bridge" graft before grafting onto certain plum rootstocks. If you're planning to graft unusual combinations, consult experienced grafters in your region or check specialty fruit nursery catalogs.
Nearly all citrus varieties are compatible with all other citruses, making the citrus family especially flexible for creating multi-variety trees.
Rootstock Matters
The rootstock you choose affects not just success rates but the ultimate size and character of your tree. Standard seedling rootstocks produce full-sized trees (25 to 35 feet), while dwarfing rootstocks limit trees to 15 to 20 feet or even smaller. Some rootstocks impart disease resistance; others enhance cold hardiness. When selecting rootstock from a nursery, choose stock that has been established for at least one year before grafting.
When to Graft
Timing varies by grafting technique and your region. Most deciduous fruit trees like apples, stone fruits, and pears are grafted in late winter to early spring, just before the natural burst of spring growth, when the tree is still fully dormant. This is when growth hormones are concentrated in the buds, promoting rapid healing.
If you live in a frost-free region, you can graft before new bud growth begins at almost any time. Tropical fruit trees like avocados and citrus can be grafted later in the year than temperate fruits.
For one specific technique (T-budding), the timing is different. T-budding is performed in late summer when the bark "slips," meaning it separates easily from the wood. This timing is ideal for summer grafting in most regions.
Collecting and Storing Scion Wood
Success begins with quality scion wood. In late winter (before buds begin to grow), collect pencil-thick twigs from vigorous, healthy growth on the desired variety. The best scion wood is no more than one year old and measures 1/4 to 1/2 inch in diameter. Avoid any wood from diseased trees.
Collect when temperatures are at or above freezing, ideally between mid-morning and early afternoon when the sun has warmed the sap. Cut scions into 12-inch lengths, selecting pieces with three or four healthy buds.
Mark each scion's top and bottom ends clearly. Experienced grafters use a diagonal cut to mark the top (the growing end) and a square cut to mark the bottom (the root end). Label each scion with the variety name using waterproof marker. If you're collecting multiple varieties, bundle them separately.
Store the scions in a cool, moist (not wet) environment to keep them dormant until grafting time. Wrap the cut ends in damp paper towels, place the bundle in a large plastic bag, and seal it. Refrigerate at about 40 degrees Fahrenheit. Scion wood kept this way will remain viable for up to six months. Do not allow them to freeze.
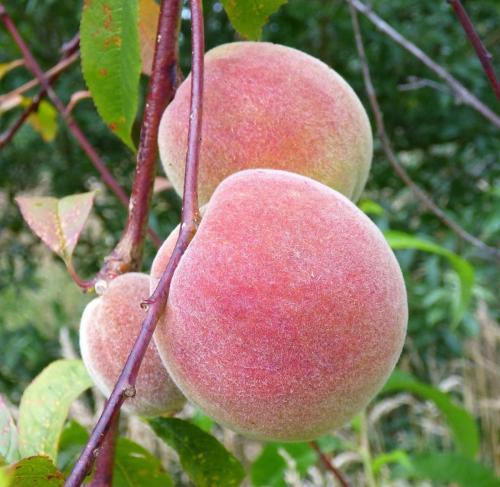
- Peach (Prunus persica 'Sweet Perfection')
- Uploaded by KGFerg
Grafting Techniques
Many grafting techniques have evolved over the years. The choice depends on the size of your wood, the species involved, and the time of year.
Whip-and-Tongue Grafting
The whip-and-tongue graft is the professional favorite for propagating fruit trees. It works best when both scion and rootstock are small (1/4 to 1/2 inch in diameter) and closely matched in size. Because of the added surface area provided by the interlocking tongues, this graft heals quickly and forms a particularly strong, long-lasting union.
Step-by-Step Whip-and-Tongue Grafting:
-
Prepare the cuts. In early spring when the tree is dormant but growth is about to begin, match your scion wood to the rootstock. Both must be fully dormant and ideally the same diameter. Using a very sharp knife with a flat (not beveled) blade, make a slanting cut halfway between buds on both scion and rootstock. Hold them together to ensure the angle is exactly the same on both pieces.
-
Create the tongues. Make matching slits (the "tongues") about 1/4-inch deep into the surface of each cut. These notches will interlock when joined.
-
Join the pieces. Align the cambium layers (the thin, active green layer between bark and wood) of scion and rootstock. Gently push the scion into the rootstock, interlocking the tongues. If the widths are slightly different, match the cambium on at least one side of the graft.
-
Secure the graft. Wrap the graft tightly using a cut rubber band, winding from the bottom up and slipping the end under the final loop. This holds the pieces in contact while they heal.
-
Provide support. Tie the graft to a 1-inch stake to provide support as scion growth develops and creates an unbalanced top.
-
Seal the union. Cover the grafted area with a thin coat of water-based grafting sealant.
-
Monitor growth. Within a month, expect new growth from both rootstock and scion. Within two to three years, the union will be strong enough to support mature growth and fruit production.
T-Budding (Summer Budding)
T-budding, also called T-grafting, is simpler than whip-and-tongue grafting and works when performed in late summer. It's excellent for creating multi-variety trees on existing branches or for propagating on inexpensive rootstock plants.
This technique involves removing a single leaf bud (not a flowering bud) from new growth of the desired variety and inserting it into a branch of the same fruit type. Although you can graft different species together (such as peaches and plums), you'll have better success keeping the same fruit type on each side of the graft.
Step-by-Step T-Budding:
-
Select the source bud. In late summer, find a plump leaf bud about halfway down a branch of vigorous current-season growth from your desired variety. Leaf buds (which grow close to the branch) are different from fruiting buds (which stand out from the branch).
-
Remove the bud. With a sharp budding knife or small pocket knife, make a shallow cut about 1/2 inch below the bud and another about 1/2 inch above it, cutting behind the bud. Slice just through the bark to remove the bud, barely cutting into any wood and avoiding the pith or heartwood.
-
Prepare the receiving branch. Select a healthy branch of similar size on the tree you're budding onto. Remove any leaves or side branches from the area where you'll insert the bud.
-
Make the T-shaped cut. Make a vertical slit about 1 inch long just below the bark, positioned between existing buds on the branch. At the top of this vertical slit (furthest from the trunk), make a perpendicular cut to form a "T" shape.
-
Create the sleeve. Using your knife tip or fingernail, gently peel back the bark on either side of the vertical slit below the T's horizontal cut, creating a sleeve.
-
Insert the bud. Position the bud facing upward toward the branch tip and slide it into the bark sleeve, leaving the bud itself uncovered by bark.
-
Wrap and wait. Secure the bud with grafting tape, wrapping tightly above and below the bud but leaving the bud itself uncovered.
-
Check progress. After about one month, look for signs that the graft has taken. A successful bud will appear plump and fused with the branch bark. A failed bud will shrivel or turn dark.
-
Remove the branch above. Once the bud has taken (usually confirmed the following spring), cut off the branch just above your grafted bud to direct all growth into the new bud.
-
Support new growth. The bud will begin growing in spring, eventually becoming a fruiting branch.
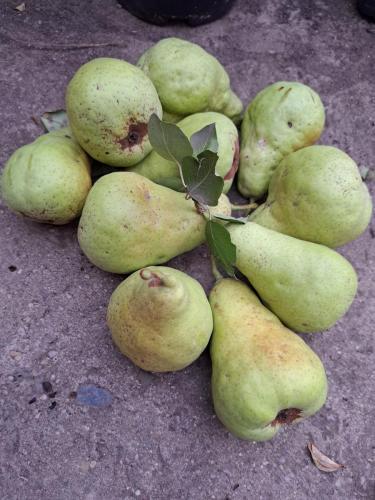
- Pears (Pyrus)
- Uploaded by AlmaPerpetua
Other Techniques
Cleft grafting works when the rootstock is thicker than the scion (1 to 2 inches diameter). A wedge-shaped scion is inserted into a split rootstock. Bark grafting is used on thick branches, slipping the scion between bark and wood. Chip budding, similar to T-budding, works when bark isn't slipping easily.
Care After Grafting
Aftercare determines whether your grafts become productive branches or fail.
First season management: Remove any suckers that emerge from the rootstock below the graft, cutting them down to the base. These compete with your new scion growth. Leave new scion growth untouched until the longest shoot reaches 6 to 8 inches (normally by late May). Then select the most vigorous shoot to form the main trunk and pinch the tips of the other shoots, leaving five or six leaves on each. In fall, remove these pinched shoots. Also in May, remove any rubber band or binding by carefully running a sharp knife up the back of the rootstock, taking care not to injure the newly healed bark.
Watering and support: Water grafted trees weekly throughout the first year. Adequate trimming may preclude the need for staking, but tie loosely to a stake if the scion growth is top-heavy.
Successive seasons: Different varieties grow at different rates. On multi-variety trees, careful pruning prevents one variety from dominating others. Remove any flower buds that appear on newly grafted branches in the first spring to direct energy into building strong branch structure. Allow successful grafts from previous years to flower and fruit while you add more varieties if desired.
Long-term success: Within three years, most grafts are strong enough to support mature growth and a full crop of fruit. By then, the graft union is nearly imperceptible, and the tree looks and bears as if it had always been one tree.
Topworking Established Trees
An advanced use of grafting is topworking, which transforms an entire existing tree by grafting many branches onto its existing framework. This technique lets you replace an old or undesirable variety with a better one while retaining the tree's maturity. Topworking follows the same principles but is done on a larger scale, often grafting multiple scions onto different limbs.
Learning and Practicing
Grafting is a skill that improves with practice, so plan for some failures and graft in quantity. Careful whip-and-tongue work on well-matched wood often sees two-thirds or more of grafts take, but use at least 10 scions of each variety to be sure some succeed. Quick techniques like T-budding go so fast that even a low success rate pays off: if you make 50 bud grafts and only 5 take, that may be enough to establish the new variety you desire. To accelerate your learning, seek out a local Master Gardener program, a neighborhood orchardist, or a regional fruit grower group. Grafting is best learned by working side by side with an experienced hand.
Related Resources
For more information on caring for fruit trees after grafting, see Fruit Tree Care. Learn about Pruning techniques for maintaining graft shape and vigor, and Choosing Plant Varieties for selecting compatible combinations. Species-specific care is available in guides for apples, pears, and cherries.
