
After long planning and much procrastination, I finally started running a water supply line to the back patio and garden area. Well, at least it's to the patio, behind the fence. I installed a "T" off the line that is capped for now, but will make it easy to expand the system farther into the garden later on.
Although I've owned at least two of them at one time or another, I couldn't find my "sharpshooter", or "drain spade", and believe me when I say that if you don't own one of these short, D-handled and narrow shovels, you NEED one. There's nothing better not only for digging narrow trenches, but for digging up plants or holes for plants. It is narrow and long, and be sure to get one with a fiberglass handle, because you can put a lot of pressure on it leveraging slices of heavy soil out of a trench. I won't even buy a tool anymore unless it has a fiberglass handle; they're practically indestructible.
So I bought another one and sharpened the bottom half of it to a nice root-cutting edge. I started the trench by digging a hole with the post hole diggers which I'd already sharpened before. Sharpening your digging tools makes the work so much easier, but I know many people don't think about it. After all, you're cutting through soil, clay and roots, right? So put a cutting edge on your tools! Just be EXTRA careful not to cut off a toe after you've sharpened them.
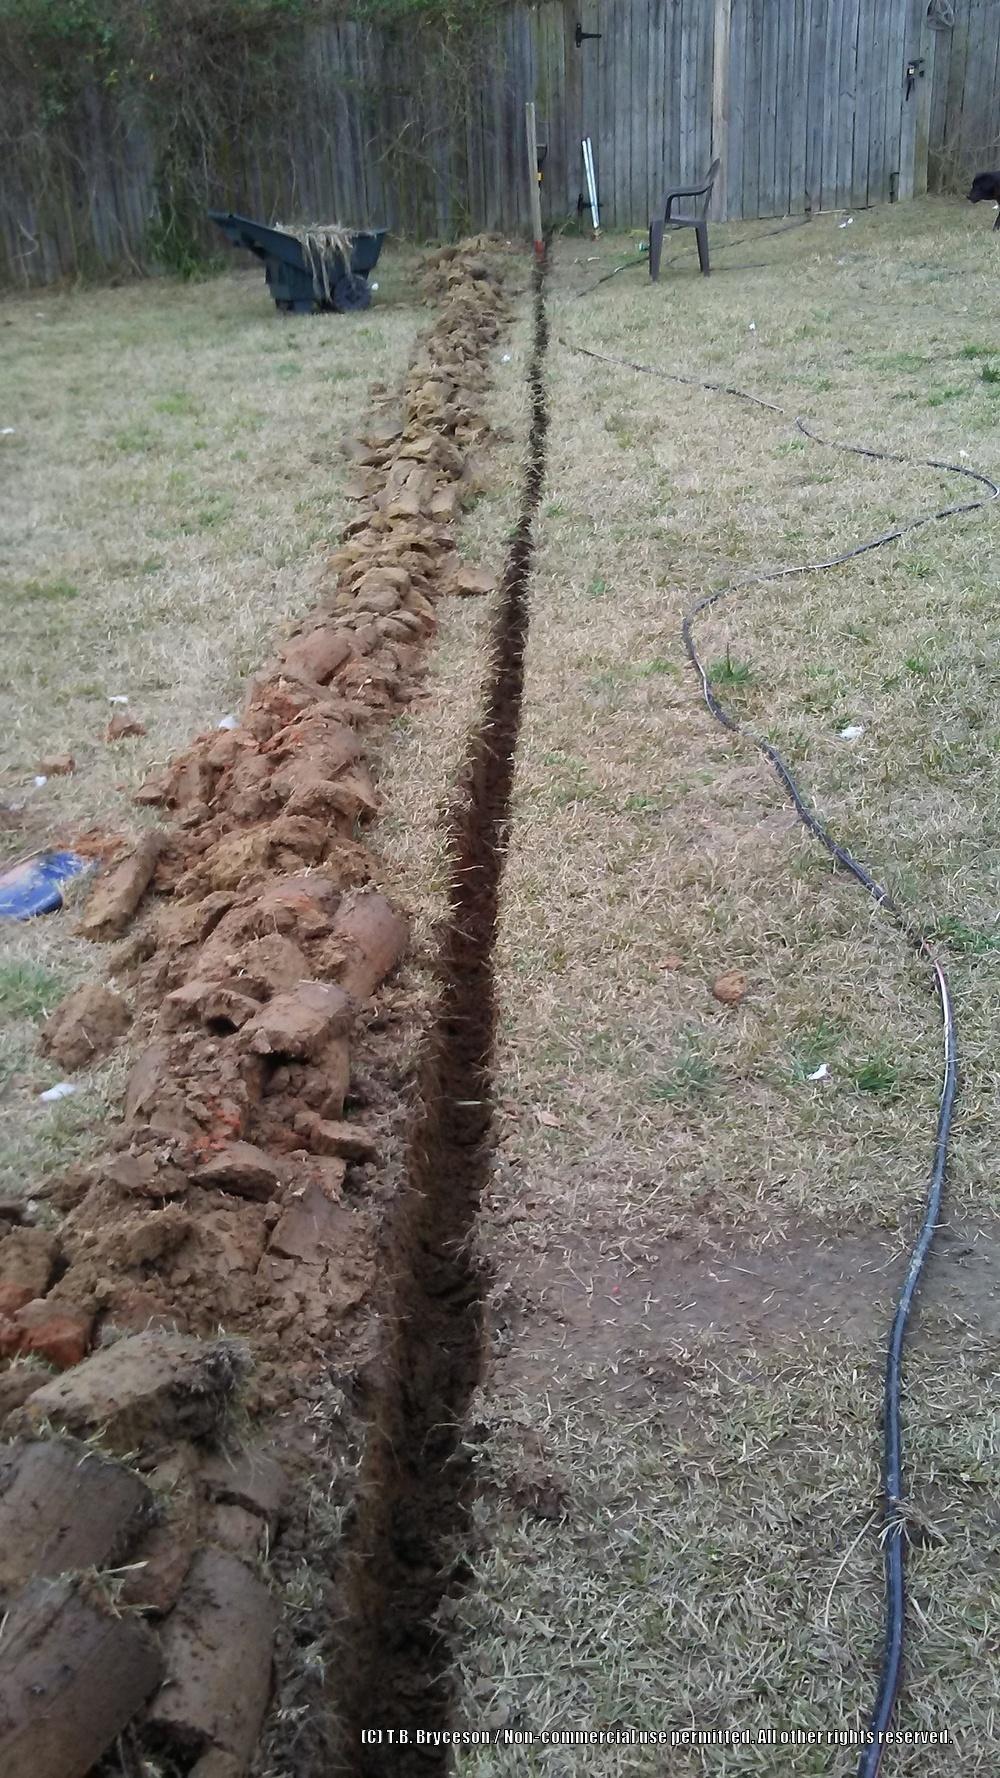
Ok, so I finally got the trench across the back yard done.
Next I bought the plumbing parts I needed at a local discount building supply that buys NOS, discontinued items, overstock, etc., anything cheap, and they sell it cheap. It cost me half or less for what I bought as opposed to going to the "regular" stores. I already had a lot of 3/4" PVC pipe that my dad had used to make a greenhouse frame, so this was a good time to use that (especially since I'd been storing it for 20 years!).
I assembled the faucets and adaptors to the galvanized pipes with pipe sealant to the point of the slip-fit PVC connections and placed them near where they'd go, then laid out the PVC pipe to be sure I had pulled out enough.
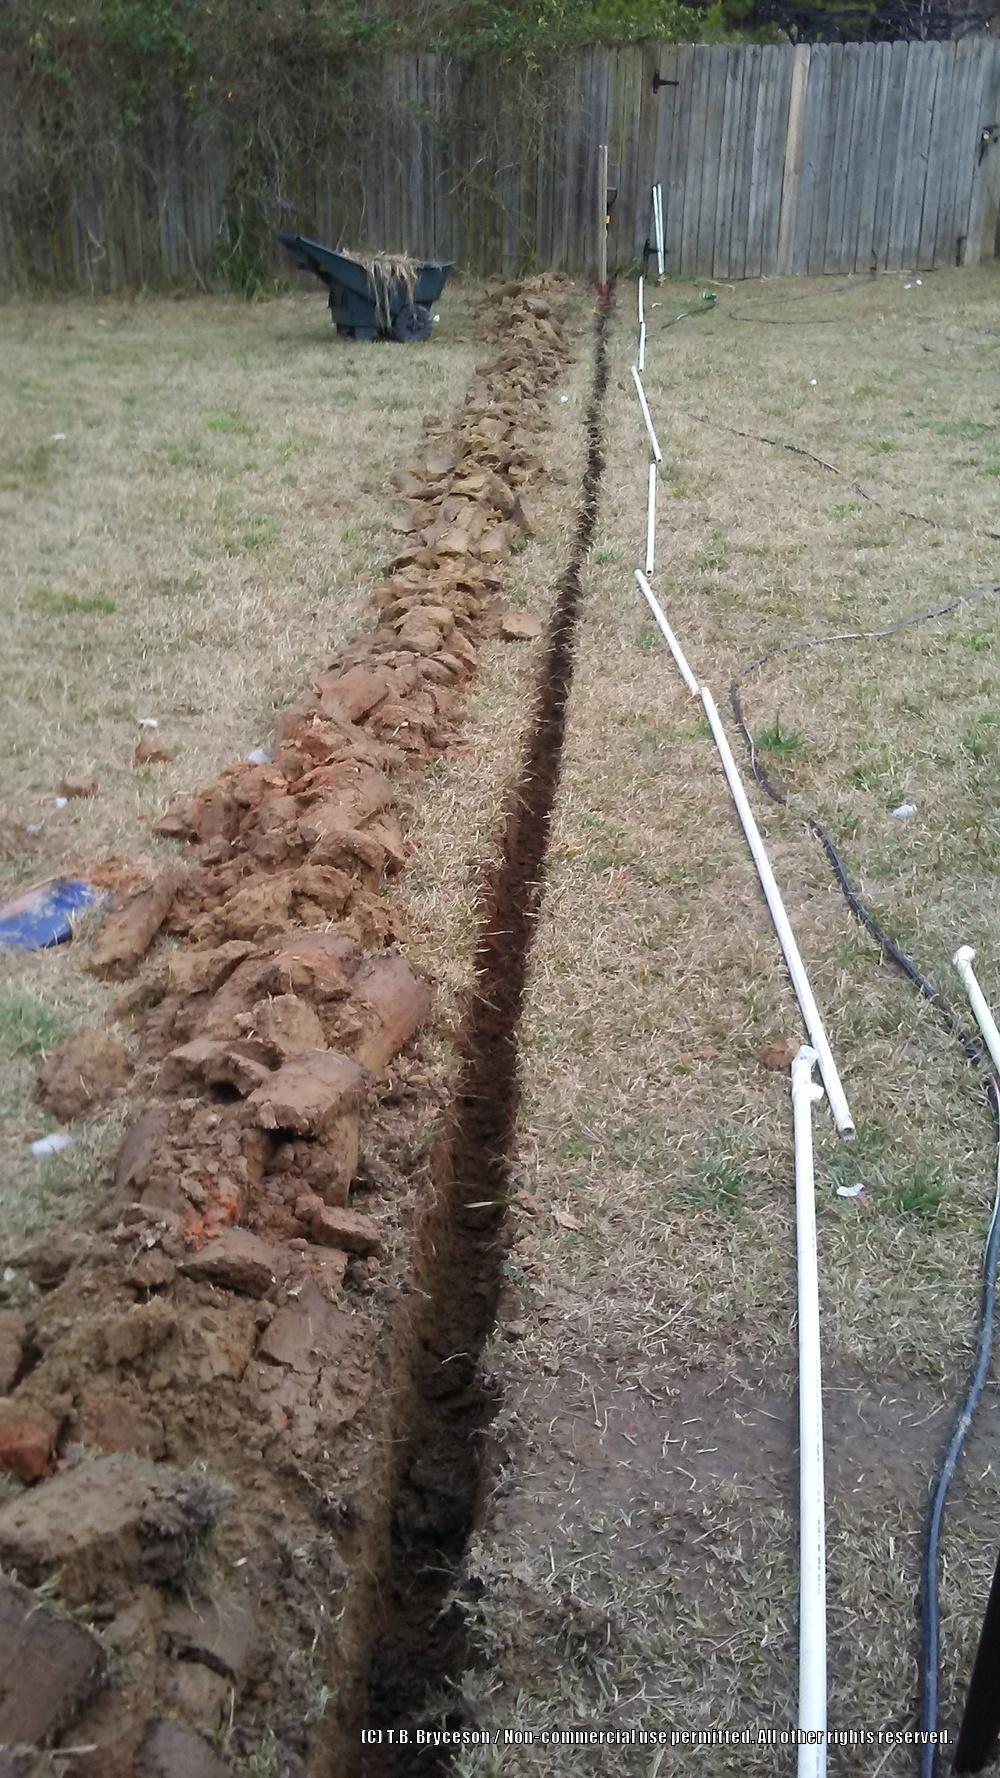
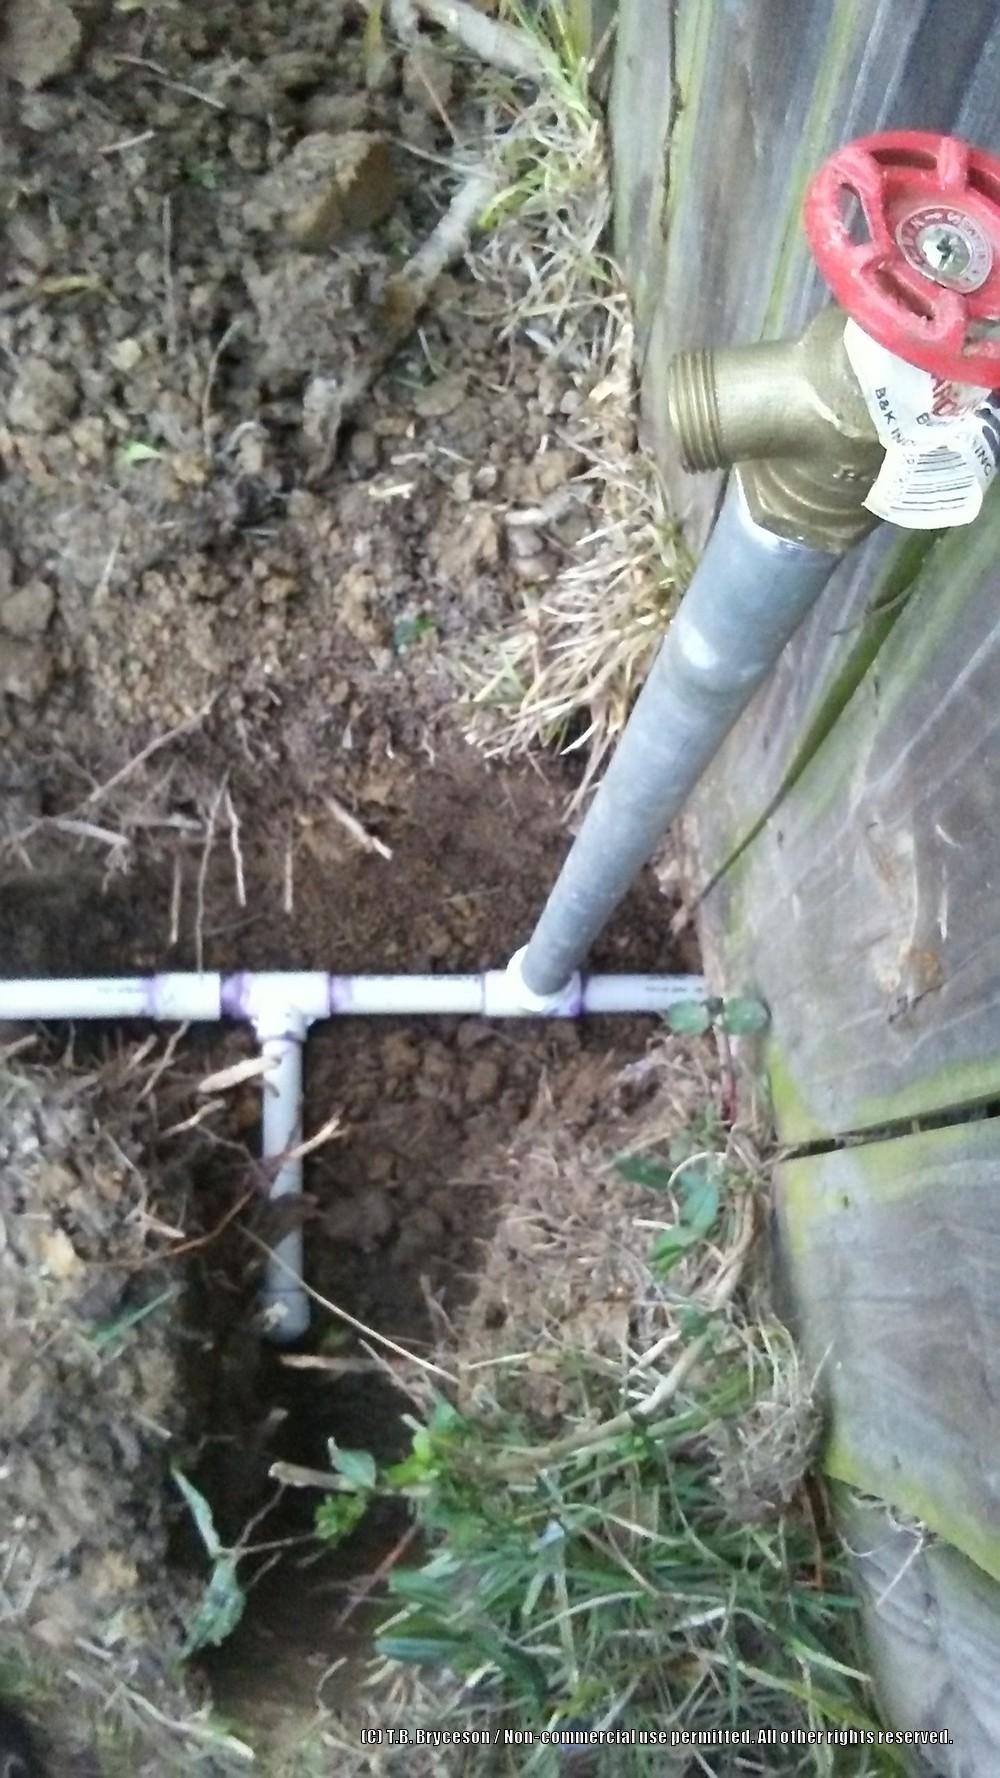
Next, I connected all the pipes using the proper PVC primer and cement, set all the PVC fittings for the ends to their proper angles and primed and cemented them, not yet connected to the main line. After all the ends were ready, I began at the house end upright assembly and glued it to the main line. I then connected the two garden valve (faucet) assemblies on each side of the fence to the PVC assembly that went under the fence. I had waited to connect this PVC assembly to the main line so it would be easier to keep the angles in the correct attitudes. Once the entire end assembly and faucet assemblies were in their proper position, I measured the length of pipe I would need to connect to the main line, cut and connected it, making sure the upright pipes at either end were oriented correctly, so that the main pipe wouldn't be torqued and stressed.
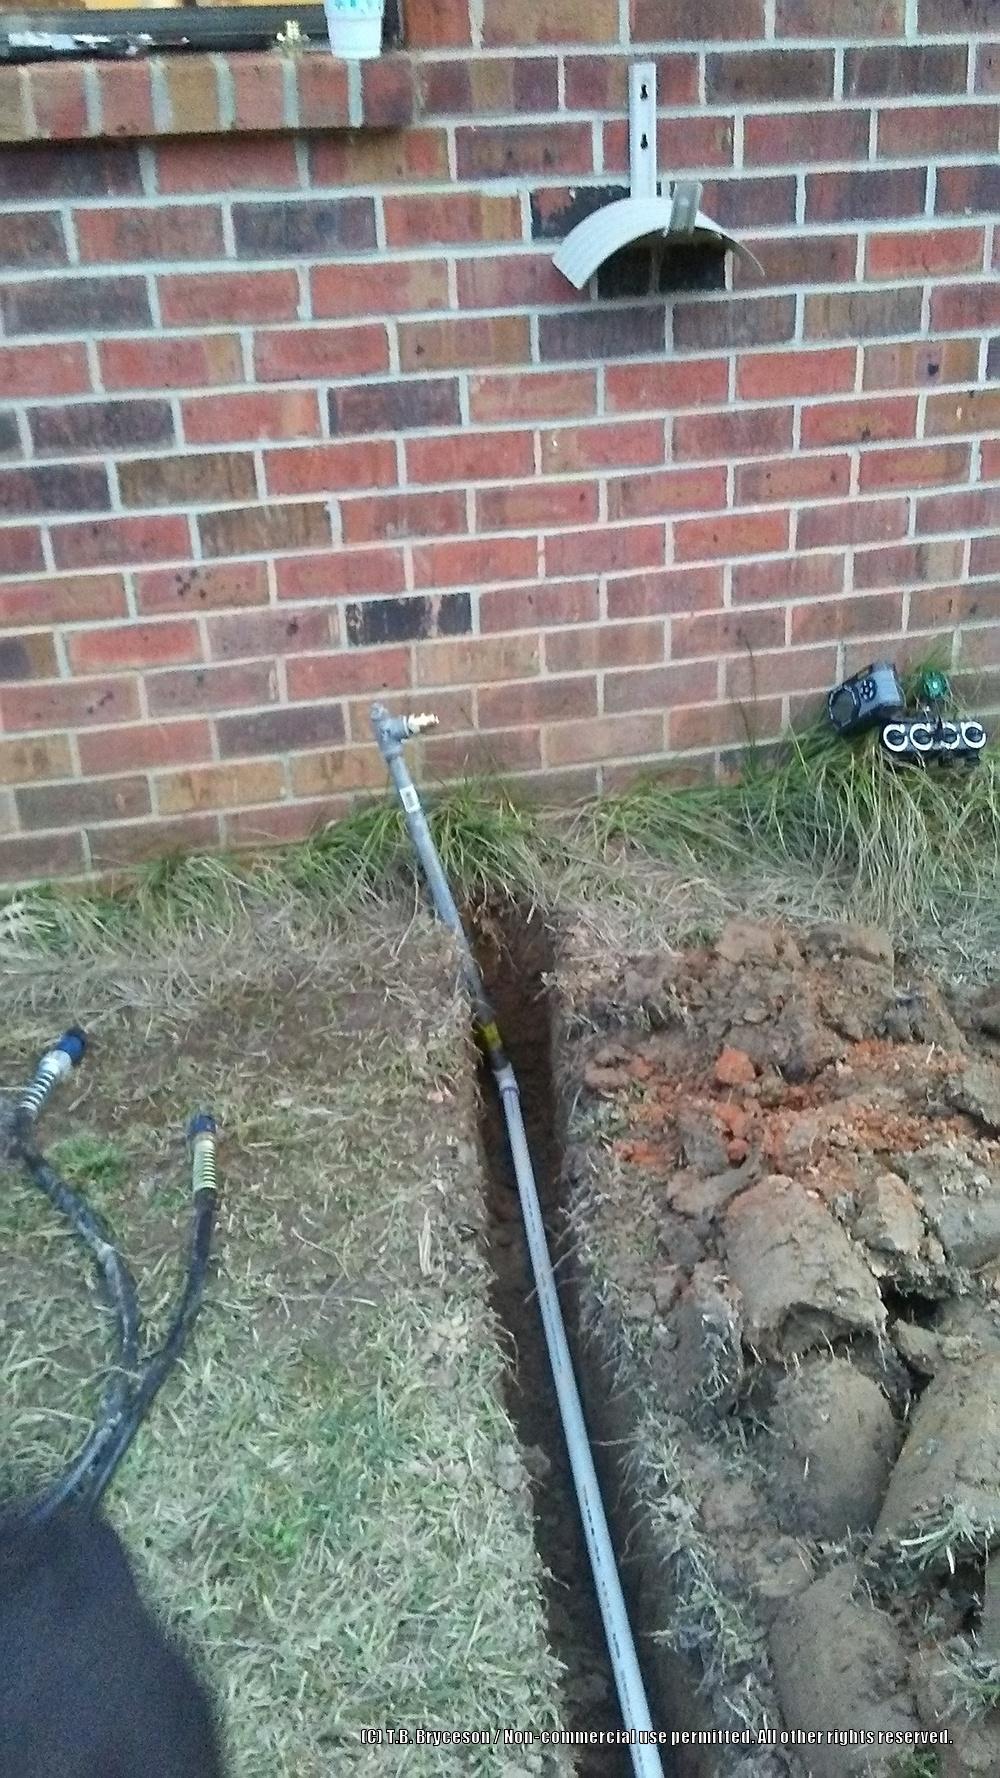
The house (supply) end:
Going beneath the fence, faucet #1:
The capped-off "T" that will make it easier to expand the system:
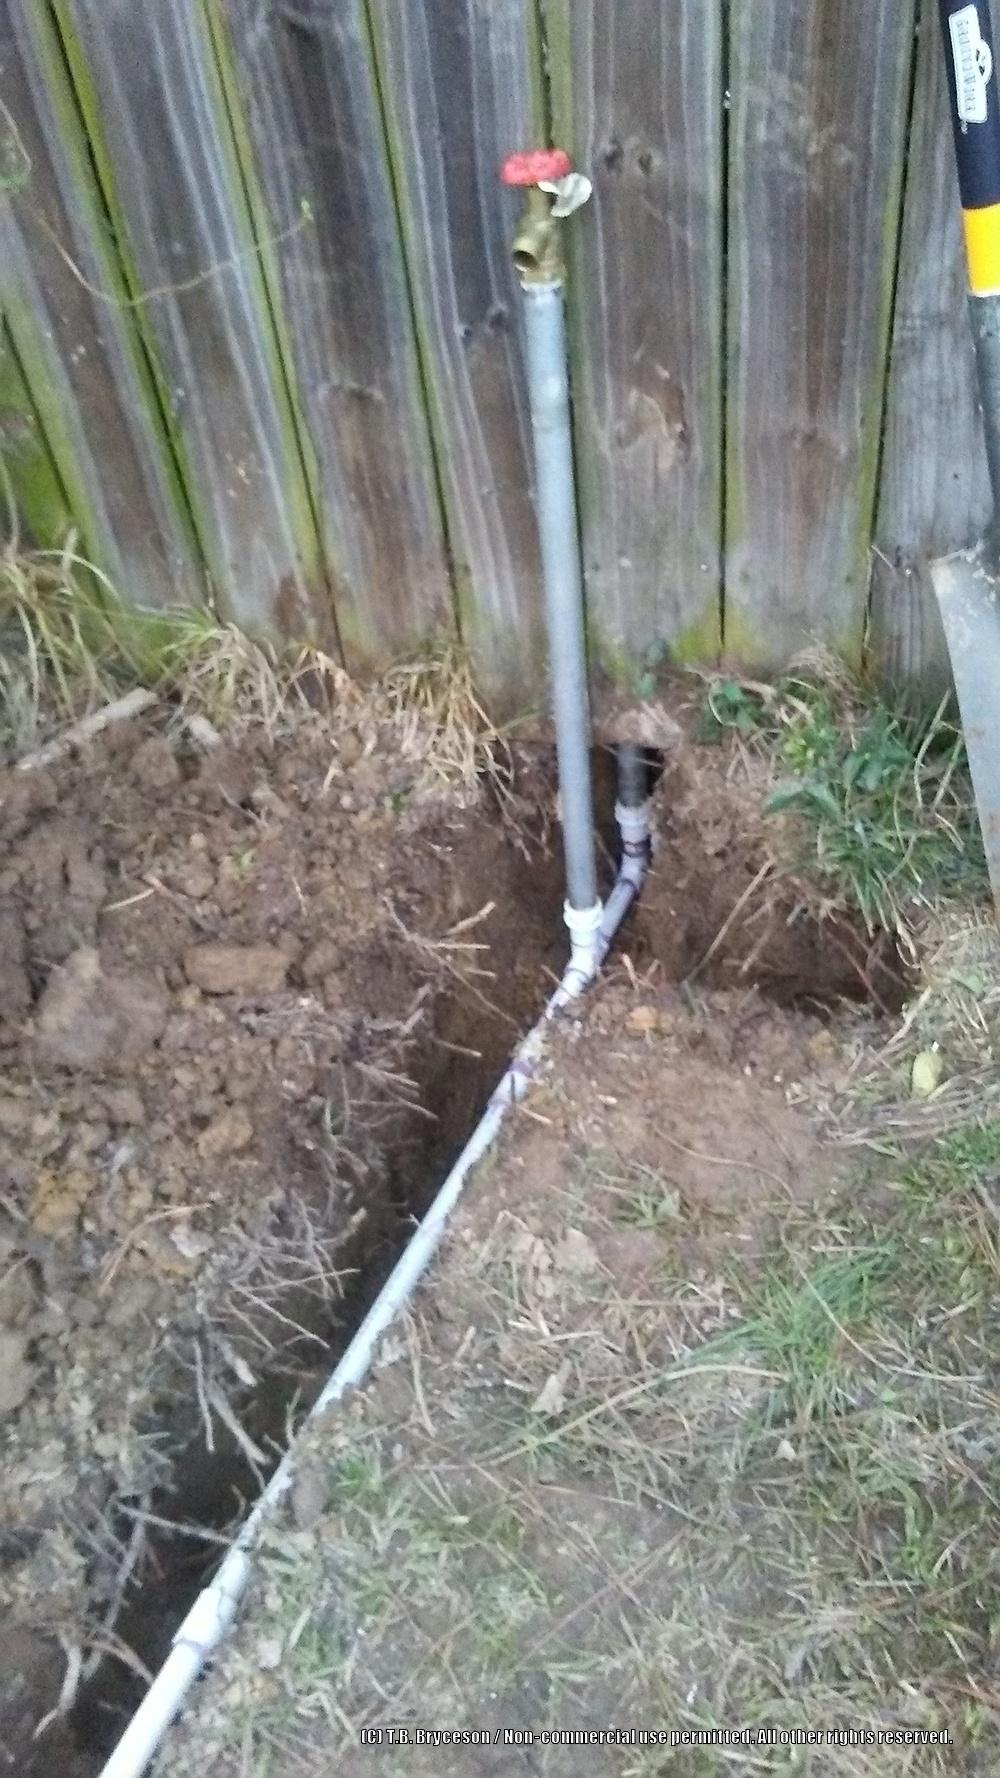
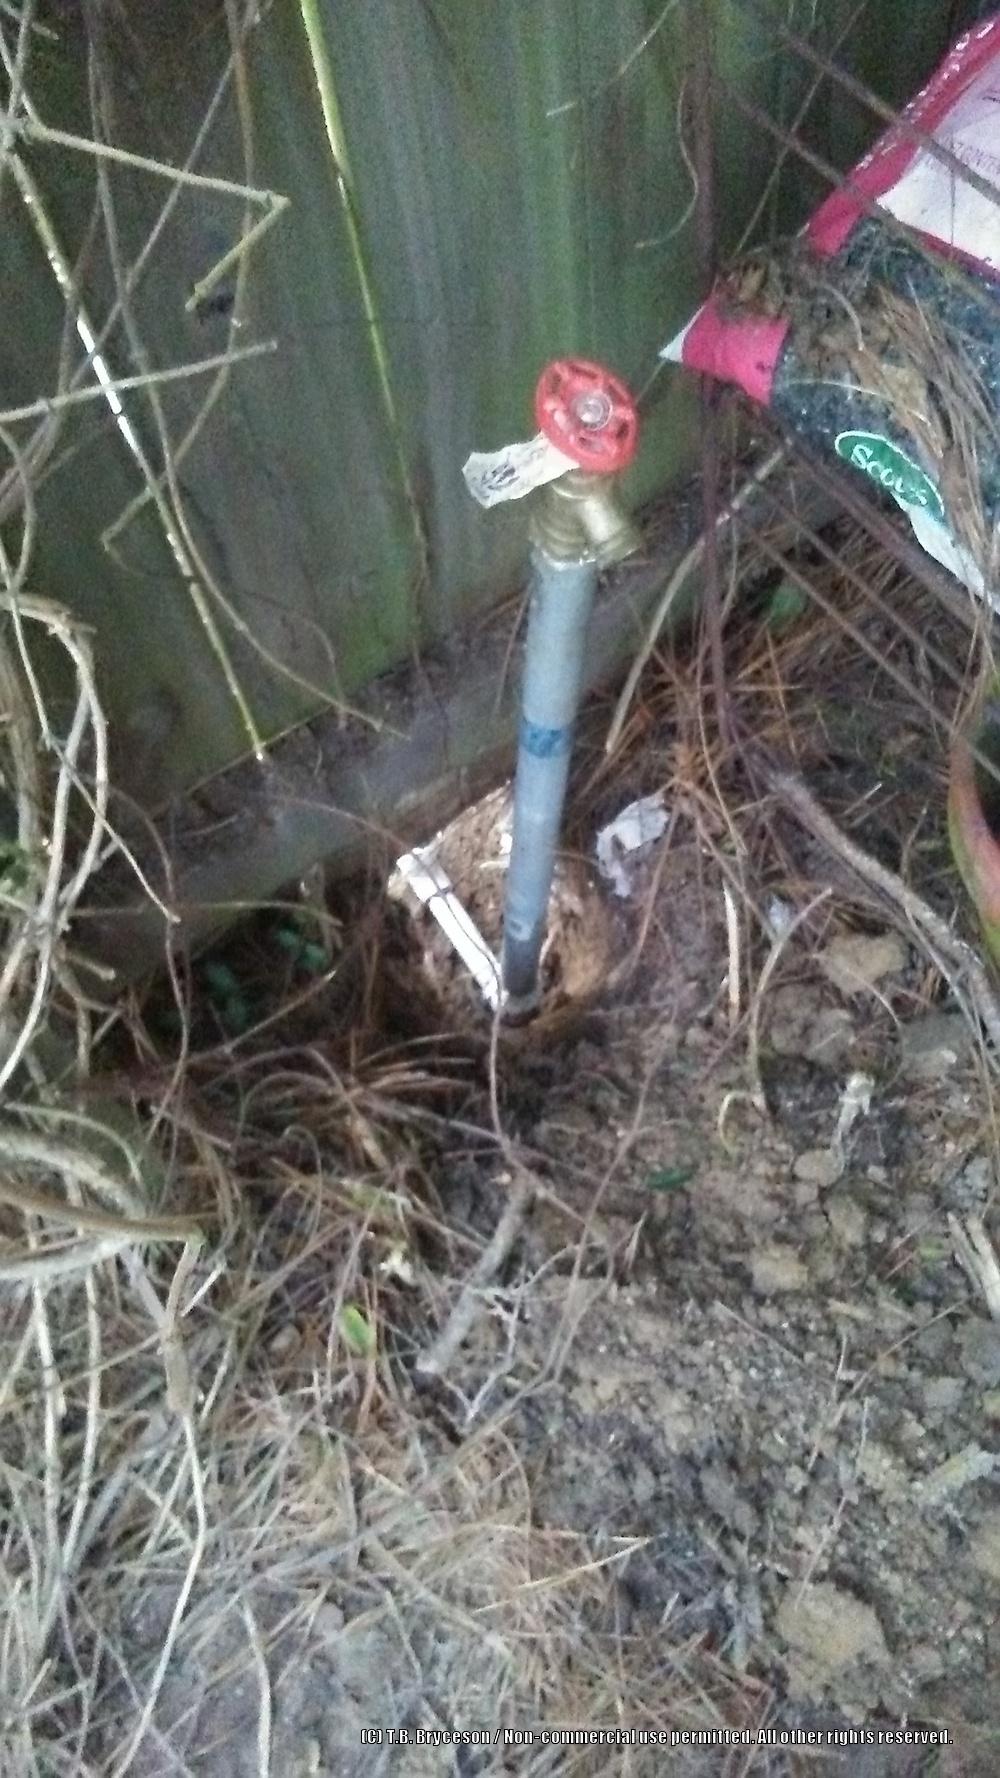
The faucet behind the fence, near the back patio:
Now all I need to do is hook it up and pressure test it, and if all goes well, lay the pipe into the trench and fill it in, then "viola!", no more long hoses stretched across the yard and having to roll them up or move them every time I mow the grass! Also, it will be alot easier to set up my drip system in back with the multiple timer I bought last year. :)
Radly
Discussions:
| Thread Title | Last Reply | Replies |
|---|---|---|
| Whew! Watching all that work wore me out! by pod | Feb 6, 2019 6:29 AM | 0 |
Post a new thread about this blog entry: